Monday, 20 August 2012

Design Team Project #1 featuring Chocolate Baroque Steampunkery Stamps (by Lesley)

A very happy Monday morning to all our lovely Snazzys DT blog visitors!

Well, where did the last four weeks go I wonder?  This year sure is whizzing by at breakneck speed and suddenly it's my turn to post a creation again, lol!  This month the DT are showcasing some smashing quirky steampunk style stamps from Chocolate Baroque and I decided to alter an old book picked up for a few pence from my local charity shop.


I've picked up several old unloved books with the intention of giving them a 'makeover' but this is the first one I've actually done and it was great fun.  First of all I cut out the aperture then tore away the pages to the depth I wanted and I also cut a square from the back pages to a depth of about 1cm but not the back cover.  I forgot  to take a pic of that but all will be revealed, lol!.  I applied a layer of Gesso to the whole cover of the book and followed this with a coat of light acrylic paint (I used Studio Trad Tan) and also stuck a lot of the pages together using the multi medium.  I then blended Distress Inks over a large piece of tissue paper and when dry scrunched it up then applied it to the cover with matte multi medium (Studio again).  I applied Distress Stains and Distress Inks to card, dried and then embossed with an embossing folder before tearing into pieces and applying these to the book with multi medium.  I then applied a layer of multi medium over the whole thing.


Now you can see why I cut the square out of the back pages!  


To make the drawer I blended DIs and then randomly stamped some of the images from the stamp sheet before creating half a box and putting in some metal bits and bobs.


All the word images were stamped onto card previously blended with DIs and the other images were stamped with black Archival Ink, cut out and coloured with DIs.  The Tando Creative wings behind the heart were painted with gold Acrylic Dabber and sprinkled with gold embossing powder before drying with the heat gun so the paint bubbled a bit.


The rest was just adding loads of Ideology and fab Snazzys Steampunk metal bits and bobs (they have a great selection).


While I remember a big thank you to the lovely ladies who joined in our impromptu Steampunk Challenge last week and my congratulations to the winner.  Such a hard task to choose just one as all the entries were brilliant and wonderful inspiration for everyone else.  There were a few entries I'd like to have a go at myself!

Last but not least, don't forget to leave an extra comment HERE to be in the random monthly draw for this month's prize.

Have a lovely week all!

Hugs
Lesley  Xx

Sunday, 19 August 2012

Challenge Winner ....

A big thank you to everyone who joined in with our challenge this week. The Design Team have chosen a winner ..... the winner is No 8 .... Congratulations Karen. Please E-mail Snazzy's with your details to claim your prize.

There were so many great Steampunk Inspired projects to choose from that the Design Team have chosen another 3 people to claim our Top 3 blinkie for their blog which you can find on the left sidebar ... in no particular order they are

11.Craftytrog (Alison)

3. Zuzu

10. Dee

Congratulations everyone ... do stop by again tomorrow when Lesley will be sharing a really cool project. Bye for now! x

Monday, 13 August 2012

Winner & Let Us See Your Steampunk Inspired Creations ....

Good Morning everyone Gillian here, due to unforseen circumstances I won't be able to blog this week, however we do have a challenge to get those crafty juices flowing ... we want to see your Steampunk Inspired projects. One lucky winner chosen by the DT will win a set of Steampunkery Stamps from Chocolate Baroque.

The challenge is open from Today and closes Sunday midday.

One lucky person who leaves a comment on this first post will also win a prize. I will draw the random comment winner via Mr Random.Org at the end of the month. Good Luck.

The winner of last months random comment chosen by Random.Org is No 13 ....


this corresponds with Danielle ... Congrats Danielle, please can you e-mail Snazzy's with your details to claim your prize.

Val and the DT Ladies have been busily creating some samples to entice you along ....


 LESLEY

HELS

To enter, simply add your project by linking your blog post to the inlinkz below ... the Dt can't wait to see what you come up with. Good luck everyone!


Monday, 6 August 2012

Ye Olde Curiosity Shoppe by Hels

Gooooodly Morning SnazzyFans! I am here with my first project for July - using those GORGEOUS Graphic 45 papers and stamps from the Old Curiosity Shop range. Please do take a few moments to check out all the amazing art that the team has made using these products - just scroll back thru the posts to see them all... believe me, you will be missing out if you miss them. Also, HERE are the deets for the monthly competition - you could score yourself some scrummy G45 goodies too!


On with my creation: It is a blank wooden housey shaped thing that has been lurking in my stash for several decades, gathering dust and all that. Well, it just popped into my conciousness as soon as I saw the papers and stamps. I thinks to myself "I could use that wooden housey thingy that has been lurking for several decades...." I reckon that you would not actually need this shape to make something similar though - you could use a Configurations box or a Printers Tray if you fancied.


I started by painting the inside of the compartments with Traditional Tan paint (my fave paint and colour) and once this was dried, I painted the front and outsidey bits with Pitch Black Dabber - using a small brush to apply it to the smaller bits. Once this had dried I sanded it all back to reveal patches of wood and then used Gathered Twigs DI, blending it into the grain of the wood to make it look old.


Each compartments has got a base of G45 papers - they are all just so lush and the colours are so me, I was in a dither which ones to use! The harlequin is my favest so that went into the top section - I added in some snips from the papers, glued onto cardstock and shaped and then stuck to the box with a fold of card - like a prop. The butterflies were glued onto Clearly For Art and then cut out, edged with more DI and then heated (from the CFA side) and then placed inside the compartment with a smidge of hot glue to hold it in place.


The next compartment features some bottles - these are stamps from the set - stamped in Jet Black Archival onto Clearly For Art, dried, cut out and then heated and shaped. The one at the back of the compartment has a lady inside it - you need to click to see it closely though (rubbish camera skills!) The fancy glass bottle is an ancient one from my stash and the other one is a Corked Vial.


Compartment three has a flying pig - another snip of paper, glued to card, cut out, edged and then popped onto a fold of card so he can fly thru the air. The Corked Vial has another bit of paper on it - legs in a bottle... and there's a little steampunky charm and a really old vial that is also from my stash.


Compartment 4 sees a jugged butterfly - well, it is captured inside the Corked Vial... poor thing, he didn't suffer though because I popped Alcohol Ink into the bottle first so he had some nice fumes to sniff (yep, lost the plot)


The rest of the compartments were all filled in the same way and to finish, I added more butterflies to the box and a brass dragonfly. Oh and the eyeglass - this is another relic from the stash box too... it is a proper one too but could I get it to photograph properly? No!


Anyways, I shall away... As ever, thanks for looking..... TTFN!

Hels x

Friday, 3 August 2012

DT Project(s) #3 by Astrid Featuring Graphic 45 Olde Curiosity Shoppe

Hello everyone, here I am with my final project for this week, an altered bottle

To make a project like this you will need:
An empty bottle of some sort and a cork or other top
Some masking tape
Some acrylic paints
Some texture paste (I used good old polyfiller out of a tube, much cheaper than some other things on the market, thanks Minxy for that tip!!)
A stencil of some kind (I used a decorative cupcake holder from a pack purchased at my local super market)
Some gold rub'n buff or similar (I used Treasure Gold "white fire", the best in my opinion)
Some dry clear pva type glue, I used Mod Podge Matte
Some embellishments, like chain, lace, ribbon and some charms, Snazzys have a fantastic collection of Steampunk Charms
And finally of course the wonderful -Graphic 45 Olde Curiosity Shoppe Collection.
The pictures below will explain how I made mine:
The empty bottle

now covered with bits of masking tape

texture paste added through stencil

first layer of acrylic paint added

second layer of paint to darken in places and make it more interesting.

rub'n buff rubbed over the textured bits to make them show up more
and finally
 glue on some of the papers on the sides of your bottle and add embellishments and a final coat of Mod Podge to seal.


The cork started out as an ordinary cork that came with the bottle. I painted it black, added some gold rub 'n buff and glued on a couple of beads.

Well that's it from me for this month, but of course, do not forget to come back on Monday when the fabulous Hels will be showing you her take on these fabulous papers, you don't want to miss that for sure. Also remember, just click that button on the side bar and leave a comment to be in with a chance to win a pack of these papers.

I'll leave you with a little tag to say goodbye (just because I could not stop myself playing with these fab papers!


Big crafty hugs


Wednesday, 1 August 2012

DT Project #2 by Astrid Featuring Graphic 45 Olde Curiosity Shoppe


Hello everyone. Today I am showing my second project featuring the wonderful Olde Curiosity Shoppe papers and stamps. This time I wanted to show that it possible to create some really feminine looking projects with these papers too, though I did cheat a little as I used one image from one of their other paper lines, namely A Ladies' Diary. The great thing with G 45 papers though is, that it is so easy to mix and match their different collections.

Anyway, this project was easy, I created a cover for an existing 5 1/2 by 8 1/2" notebook. I used one of the papers, Mercurial Masterpiece, as the background. I inked around the edges with Tim Holtz Distress Inks in Brushed Corduroy and Tumbled Glass. I then stamped one of the bottles from the Cling Stampset 2 in Archival Black twice. With the first one I cut out the whole bottle. With the second one I over stamped with one of the labels that come with this set, and cut just that bit out. I then coloured them with Distress Inks, Distress Markers and some inktense pencils and then glued the label onto the whole bottle.


I totally love this stamp, it is such a cool set altogether.
Anyway, the rest was simple, I embellished the cover with some elements cut from the papers, a tag that comes with the Label Sheet, and some lace and flowers from my stash.


As a final step I painted a light wash of titanium white acrylic paint over the central part of the background paper to fade the pattern out a bit, and then stamped over it with an old script stamp, just to give it that "notebook" flavour. I also shaded around some of the images to make them pop a bit. I always think this shading and altering of the papers makes a big difference to the final result, - here is a "before pic"
Before altering the background paper
And here after it was altered:
Hope you can see the difference...

 And as to the title? Well it is my weight loss diary so I can tell you, it will be full of oddities and curiosities!!
Remember, there is a chance to win this set of papers, all you have to do is leave a comment here

Well, that's it for today, I'll be back on Friday with my final project, until then, stay crafty


Monday, 30 July 2012

DT Project #1 by Astrid

Featuring Graphic 45 "Olde Curiosity Shoppe"

Hello dear Snazzys visitors, this is Astrid here with my first project using the wonderful Olde Curiosity Shoppe papers from Graphic 45. If you have seen all the wonderful projects my teamies have created already, I hope that by now you will be as addicted to these papers as I am; they are just stunning, fun, quirky and beautiful all at the same time!!

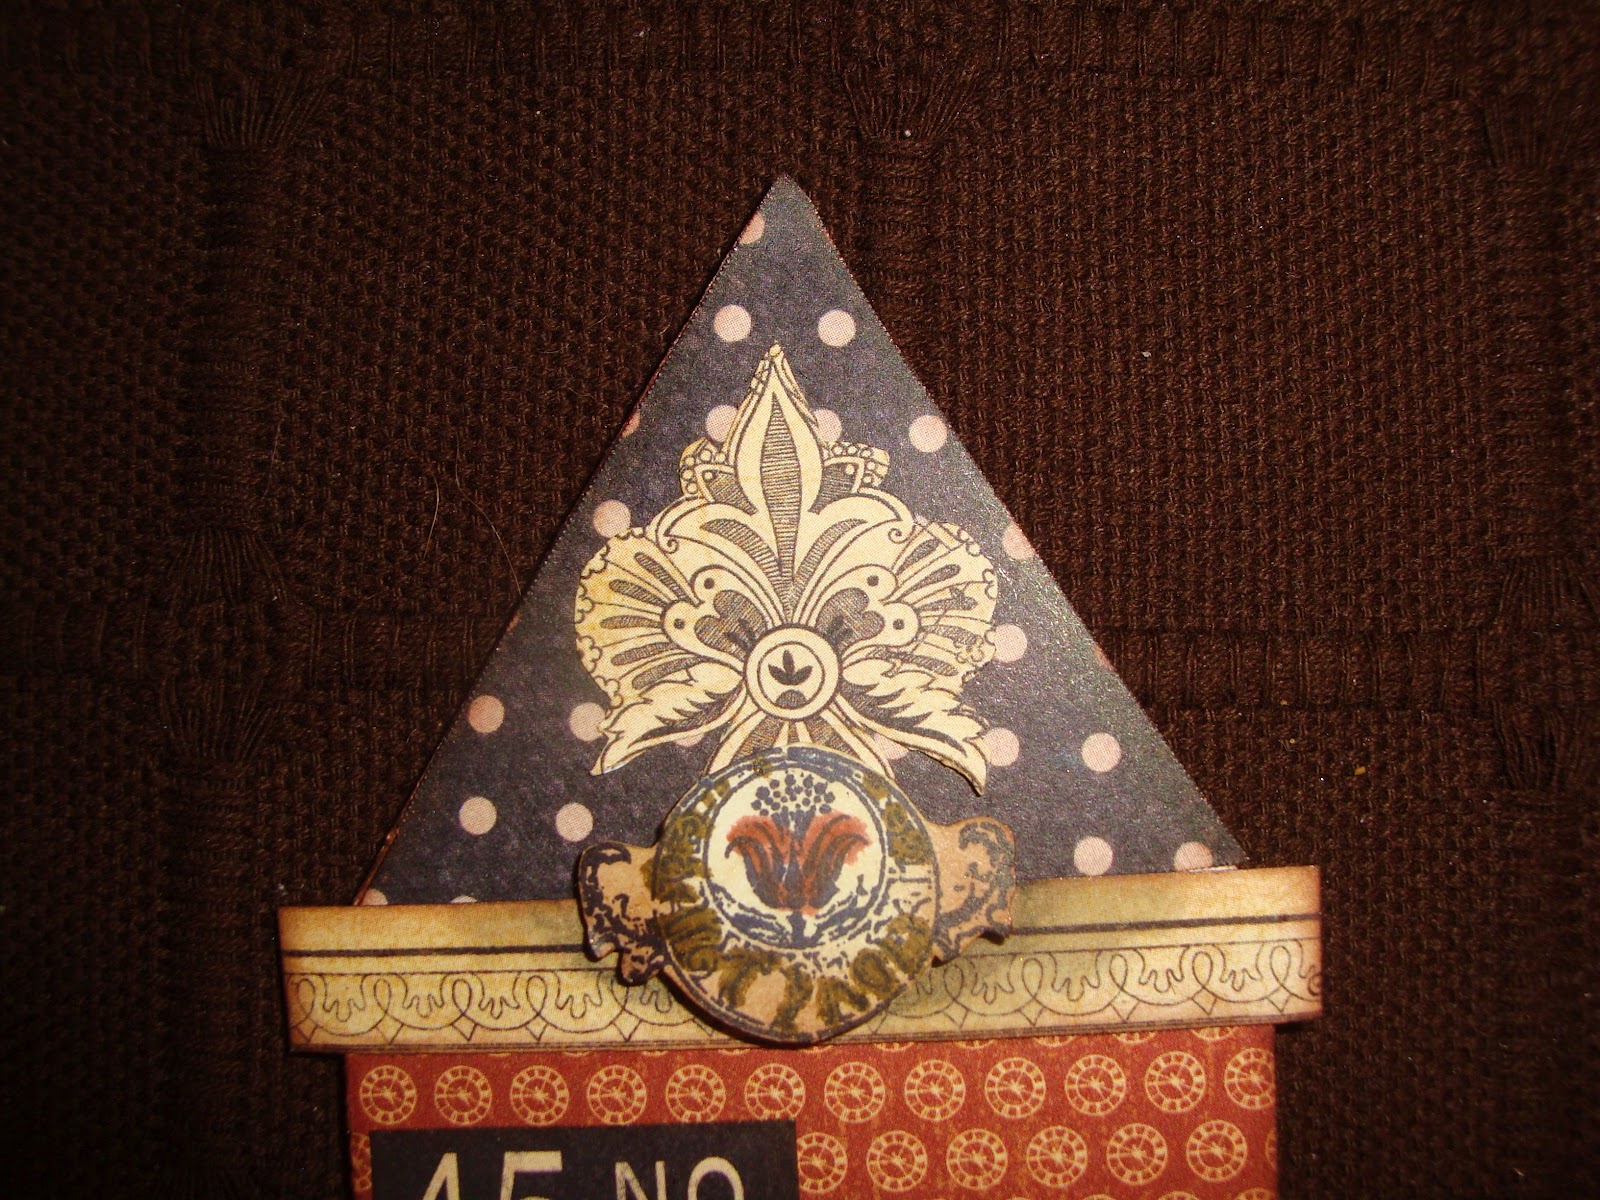
When I first saw these papers, my first thought was to create a little shadow box curiosity shoppe, but hey, great minds think alike and Lesley did something very similar already. So change of plan, houses was my next thought, and so instead I created an "Olde Curiosity Street".
This is how I went about it:
First I drew and then cut out some different houses out of plain chip board

Next came the fun bit, covering them with a variety of the papers and then decorating them with some of the elements, fussy cut from other papers. I wanted my street to be colourful, so I went for the brightly coloured papers. So much fun and so many possibilities!

Here I used one of the stamps that come with the papers, there are 3 sets in all, I used set 2.


Now for to create a background for my houses. My plan was to use one of the papers in the set, but not having thought ahead, I found that my four houses were too wide for the 8 x 8 papers. it really needed a 12 x 12" sheet. So I took one from my stash, it's a Tim Holtz paper showing some house plans in a suitably muted colour. I cut it to 12 x 6" and then created a frame from bits of old card I had flying around. For the fancy bit at the top I cut a template first, by drawing one half, folding over and then tracing the other half to be an exact mirror. I then painted the frame black with acrylic paint.


Now for embellishing the frame. I generated the title Curiosity Street on my PC using a similar font to the ones used on the papers. I cut a piece of 12 x 12 G45 paper from an old collection I had in my stash (Botanica Bella) to A4 size and printed it onto that. The great thing with Graphics 45 papers is that no matter what collection you use, they usually match!. The rest was embellished with bits and pieces from my stash, mostly Tim Holtz Ideaology, one of the Chipboard tags that come with the collection and some more fussy cut bits from the papers. The three little bottles in the right hand bottom corner are made by stamping the bottle stamps from the Cling Stampset 2 onto white Shrink Plastic.


Well, I hope you enjoyed my first project, I'll be back later in the week to show you more. Bye for now.