Goodly Morning Snazzyfans and a very happy day to you all! This month we have been playing with the delicious Chalk Studio papers from My Minds Eye. These papers are double sided (always a hit!) and the colours are right up my alley! As well as the papers we have also had some fabby sentiments from Kaiser Craft and the one I have used on this creation is one of my faves!
I have altered an old shadowbox that had been languishing on the "things to alter heap" for way too long. Starting by painting the frame with Pitch Black Dabber (applied with Cut & Dry foam) and once dried, I sanded it back to show some of the wood again. Next I used Walnut Stain Distress Ink and blended it right over the top. I love the aged rustic finish this technique achieves.
I added some of the papers into the centre of the shadow box and distressed the edges, again using Walnut Stain Distress Ink. I stamped the sentiment from the Confidence stamp set using Jet Black Archival ink and popped this onto 3d foam. I cut a load of flowers from the other papers in the set and made 5 roses, attaching these, along with some leaves and spikey flowers to the inside of the shadow box using 3d glue and then adding some little metal embellies for decorations. And there you have it. A relatively quick creation that will most definitely be gracing the wall of the Room of Stash!
Thanks for looking, please do remember to check out the Snazzy website and scroll back through the rest of this months posts to see the amazing creations my teamies have made! TTFN
Showing posts with label Acrylic paint. Show all posts
Thursday, 10 October 2013
Friday, 8 February 2013
DT Project - Art Life - By Hels
Goooodly Morning Snazzyfans! Apologies for the late start, Mr Internet decided to take a long break last night so I couldn't post at the usual time! Anyways, better late than never I always say so here we are with the last DT post using the MDF Man's Cogs that we have all been working with this past month. Speaking of which - if you scroll back through all the recent posts, you can see the adorable art that the other girlies on the team have created. Also, if you click HERE you will be magically transported to the Snazzy's online store... and... if you click HERE you will be whizzed away to the first post of the month where you can leave a comment and be in with a chance of a spot prize!
So, a few days ago you saw the faux clock I made... and being as I lurves my flowers, I decided to go down the same route with this creation, only this time I used all Studio 490 flowers and leaves - did you know Snazzy's has an amazing collection of Studio 490? No? Click HERE to see it all in its glory! I started out by painting the base cogs with Mushroom paint, I applied it all over with a brush and then once dried, I used the same brush (now quite dry) to add a bit of texture with sweeping strokes across the cogs.
Next I applied Vintage Photo DI around the edges of the cogs - because the Mushroom paint is acrylic, it has a bit of a chalkiness to it... which meant the Distress Ink was lovely and muted, just the ticket! Next I used some Studio 490 Stencils for Art and applied Tumbled Glass DI over the diamond pattern... a quick zap with a heat tool to set the ink and then applied Iced Spruce DI over the long liney pattern stencil, ensuring I didn't cover the entire cog face. Once these had been dried off, I used Cosmic Shimmer Glue to stick the Cogs together so when this piece was finished it became a wall hanging.
Now to the happy place of stamping out some Studio 490 flowers and leaves onto pretty patterned papers. I could have used Grungepaper but I wanted to keep the light pretty feel of the piece so double sided papers were perfect. Once stamped, in Coffee Archival for the flowers and Olive Archival for the leaves, I cut them all out. Next came the tidying up bit, were I edged all the flowers with Tumbled Glass DI - this gets rid of any nasty white cut bits... and Forest Moss DI for the leaves.
Finally, I assembled them onto the cogs and added some butterflies and my fave bits... Embellish Your Art, the ickle resin delights from the Studio 490 range. The letters making the words are Idea-ology Alpha Parts that I jazzed up a bit with some gilding wax. And there you have it. A pretty was to use a quite masculine object. Do pop back on Monday BTW because Gillian will be here with the brand new DT kit we are playing with next month... ohhhlalalaaa.. are you in for a treat! Thanks for looking... have a great day! TTFN
So, a few days ago you saw the faux clock I made... and being as I lurves my flowers, I decided to go down the same route with this creation, only this time I used all Studio 490 flowers and leaves - did you know Snazzy's has an amazing collection of Studio 490? No? Click HERE to see it all in its glory! I started out by painting the base cogs with Mushroom paint, I applied it all over with a brush and then once dried, I used the same brush (now quite dry) to add a bit of texture with sweeping strokes across the cogs.
Next I applied Vintage Photo DI around the edges of the cogs - because the Mushroom paint is acrylic, it has a bit of a chalkiness to it... which meant the Distress Ink was lovely and muted, just the ticket! Next I used some Studio 490 Stencils for Art and applied Tumbled Glass DI over the diamond pattern... a quick zap with a heat tool to set the ink and then applied Iced Spruce DI over the long liney pattern stencil, ensuring I didn't cover the entire cog face. Once these had been dried off, I used Cosmic Shimmer Glue to stick the Cogs together so when this piece was finished it became a wall hanging.
Now to the happy place of stamping out some Studio 490 flowers and leaves onto pretty patterned papers. I could have used Grungepaper but I wanted to keep the light pretty feel of the piece so double sided papers were perfect. Once stamped, in Coffee Archival for the flowers and Olive Archival for the leaves, I cut them all out. Next came the tidying up bit, were I edged all the flowers with Tumbled Glass DI - this gets rid of any nasty white cut bits... and Forest Moss DI for the leaves.
Finally, I assembled them onto the cogs and added some butterflies and my fave bits... Embellish Your Art, the ickle resin delights from the Studio 490 range. The letters making the words are Idea-ology Alpha Parts that I jazzed up a bit with some gilding wax. And there you have it. A pretty was to use a quite masculine object. Do pop back on Monday BTW because Gillian will be here with the brand new DT kit we are playing with next month... ohhhlalalaaa.. are you in for a treat! Thanks for looking... have a great day! TTFN
Monday, 30 July 2012
DT Project #1 by Astrid
Featuring Graphic 45 "Olde Curiosity Shoppe"
Hello dear Snazzys visitors, this is Astrid here with my first project using the wonderful Olde Curiosity Shoppe papers from Graphic 45. If you have seen all the wonderful projects my teamies have created already, I hope that by now you will be as addicted to these papers as I am; they are just stunning, fun, quirky and beautiful all at the same time!!
When I first saw these papers, my first thought was to create a little shadow box curiosity shoppe, but hey, great minds think alike and Lesley did something very similar already. So change of plan, houses was my next thought, and so instead I created an "Olde Curiosity Street".
This is how I went about it:
First I drew and then cut out some different houses out of plain chip board
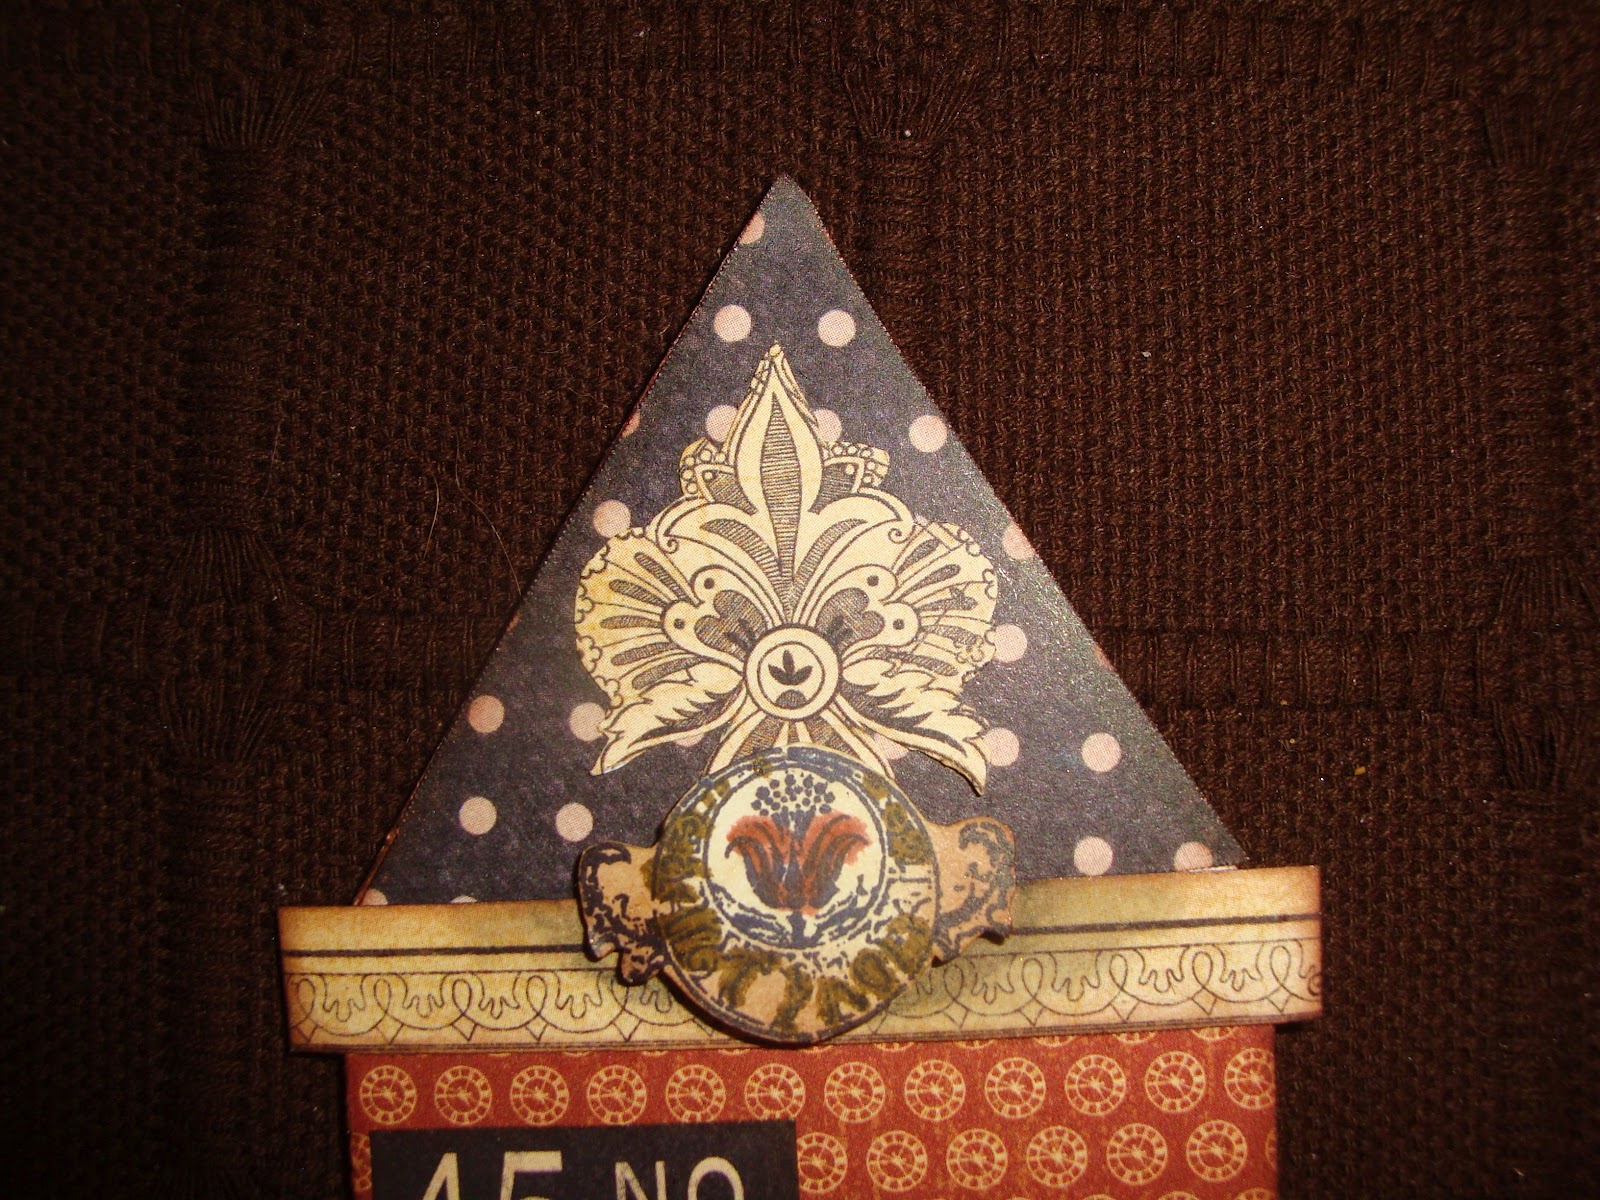
Next came the fun bit, covering them with a variety of the papers and then decorating them with some of the elements, fussy cut from other papers. I wanted my street to be colourful, so I went for the brightly coloured papers. So much fun and so many possibilities!
| Here I used one of the stamps that come with the papers, there are 3 sets in all, I used set 2. |
Now for to create a background for my houses. My plan was to use one of the papers in the set, but not having thought ahead, I found that my four houses were too wide for the 8 x 8 papers. it really needed a 12 x 12" sheet. So I took one from my stash, it's a Tim Holtz paper showing some house plans in a suitably muted colour. I cut it to 12 x 6" and then created a frame from bits of old card I had flying around. For the fancy bit at the top I cut a template first, by drawing one half, folding over and then tracing the other half to be an exact mirror. I then painted the frame black with acrylic paint.
Now for embellishing the frame. I generated the title Curiosity Street on my PC using a similar font to the ones used on the papers. I cut a piece of 12 x 12 G45 paper from an old collection I had in my stash (Botanica Bella) to A4 size and printed it onto that. The great thing with Graphics 45 papers is that no matter what collection you use, they usually match!. The rest was embellished with bits and pieces from my stash, mostly Tim Holtz Ideaology, one of the Chipboard tags that come with the collection and some more fussy cut bits from the papers. The three little bottles in the right hand bottom corner are made by stamping the bottle stamps from the Cling Stampset 2 onto white Shrink Plastic.
Well, I hope you enjoyed my first project, I'll be back later in the week to show you more. Bye for now.
Subscribe to:
Posts (Atom)