Showing posts with label mini book. Show all posts

Thursday, 23 January 2014

DT Project #2 by Minxy, Featuring:

JillyBean Soup: Heart Healthy Red Bean Soup Collection

Hay Snazzy Gang
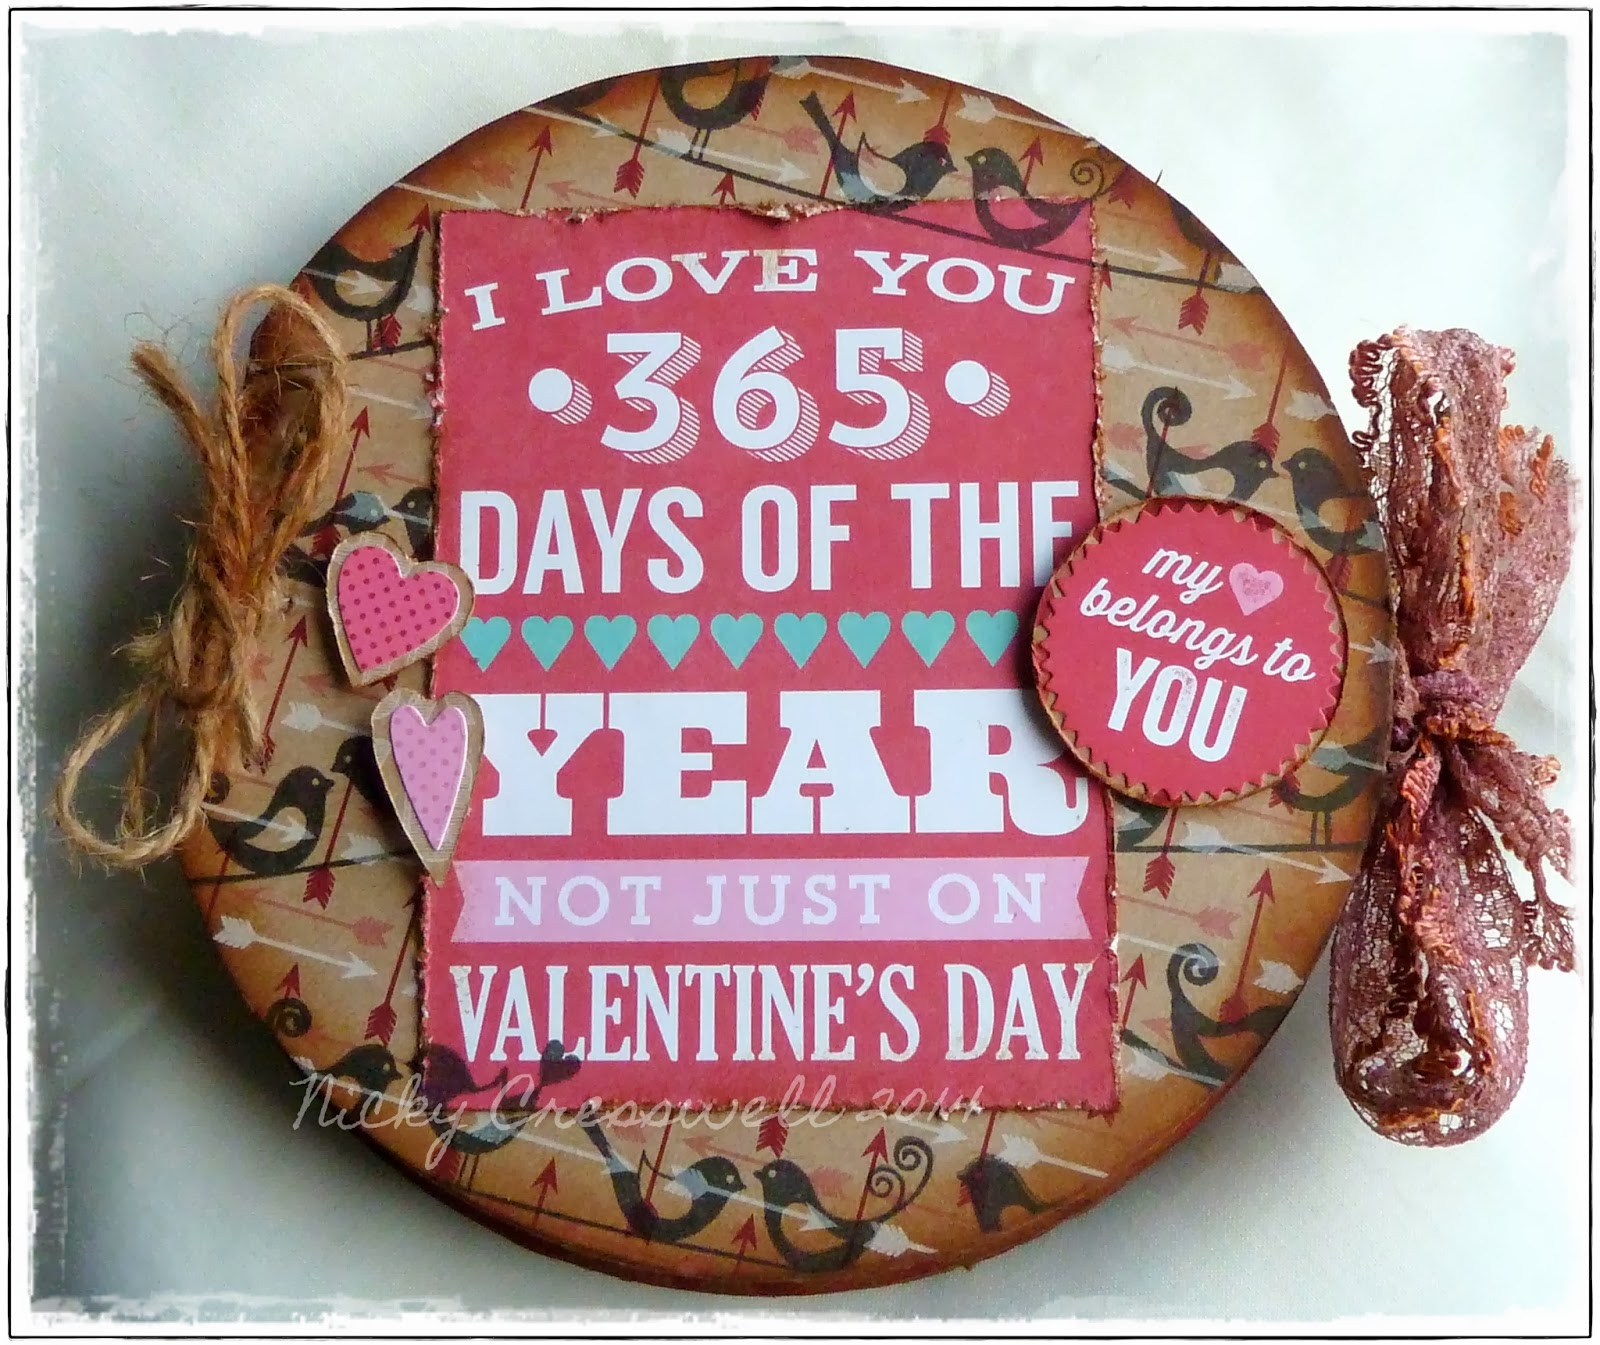
So i'm guessing you're all back today to find out "what's in the tin"


It is of course a little mini book


I started by cutting 4 circles of mountboard and covering each piece back and front with the various Jellybean Soup PapersI dyed some lace with distress stain for the closure, and stuck this 2 the front and back page before the papers. {i made a shallow channel in the mountboard so the lace would not be raised under the paper.}


I then cut out 6 of the elements from the bite size bits sheet, and added 1 to each page.


I used all the clear stamps from the kit to accent each page, along with some of the stickers and some shapes cut from the backing papers.


I used the largest of the stamps to finish the last page.
I punched 3 holes into each page and bound with twine.

So... Thats me done for another rotation, I hope you have enjoyed my little book in a tin project, Don't forget there is still plenty of inspiration to come from my fellow teamies, starting with Claire on Monday.
I'll see you again in Feb
Till next time, Stay Inky

Friday, 14 June 2013

DT Project #3 by Minxy, Featuring

Kaisercraft Base Coat Collection


So here I am with my 3rd and final piece of the week
I was searching on utube and I came across another variation on the 1 sheet mini book so decided to give it a go.


I used the 'whitewash' paper and followed instructions via utube {just search 1 sheet mini}


Once I had stuck all my pages together I stamped the 'memory' clear stamp in 'coffee' archival ink randomly on the lower pockets, and over the front and back cover.


I distressed some tags with distress ink and stamped words from the 'secret admirer- definitions' clear stamps also in 'coffee' archival ink.


I used a tando creative small chipboard compass inked with 'vintage photo' distress ink to hold in place some twine for the closure.
You could make these into very cool little note carriers or photo holders, the possibilities are endless.
*****
So this concludes my week of kaisercraft fun, I hope you have enjoyed my projects this week.
Astrid will be along on monday with more wonderful projects, along with Hels the following week so plenty more ideas for these scrummy papers.
***
Take Care and Stay Inky

Wednesday, 6 March 2013

DT Project #2 by Astrid, Featuring:

Hello everyone and welcome again, - so nice to see you. For my second project I am going to show you another little mini album. Minxy showed one last week, if you haven't seen it yet, make sure to scroll down, she even made a fab video on how she made it. Unfortunately I have neither a video camera nor the skills to make a video, so this is just going to be a boring photo post.


I made my book using the so called meandering book technique. It's very similar to Tim Holtz "W" book, just larger in size as I used 2 sheets of 12 x 12 paper. Here is a diagram of how to make it:
Take two bits of spare 12 x 12 paper (don't use the Engravers Collection papers, they are far too beautiful, just some old papers, you are not going to see them anyway).
Score each one in half one way and then every 4" the other way. Tape them together using washi or any other kind of tape and cut to the center fold as shown in the diagram. Then fold and tape it just as Tim shows in his W book video, HERE is a link.
So now you have a little book with six pages and pockets and the fun of decorating them can begin.
I created the cover with elements from the collection and embellished further with a little rusty heart and a piece of metal string from my stash.

I then covered all the other pages with parts of the papers and embellished with cut outs and stamps etc as shown in the photos:

I stamped the word "memories" in Versamark and then embossed with Wow White Embossing Powder. The ephemera is cut from the papers and the pen and postage stamps were stamps from my stash.

Here I added some stenciling, a rusted up die cut key and a key stamp that is part of the collection but not the DT kit, it is a clear stamp set. (I'll put a link at the bottom of this post).

Papers and stamps as before, this time all part of the DT Kit
Here are the next 4 pages, all done pretty much in the same way. For the bottom right hand one I added a few bits from the Prima Printery collection (the stamp and the tag)

Below are the last two pages:
{crown and pen stamp from my stash}.

{Words cut from the packaging that comes with the flowers in the collection.}


Well that's it. I am still going to make tags for all the pockets to do journaling on and will take this along as a little travel journal when I go off at the end of the month to visit my Grand daughter in Australia ☺
Hope you liked my little album, - I'll be back with one more little project on Saturday.