Tuesday, 13 December 2011

DT Project #2 by Paula Featuring My Minds Eye

Card Three
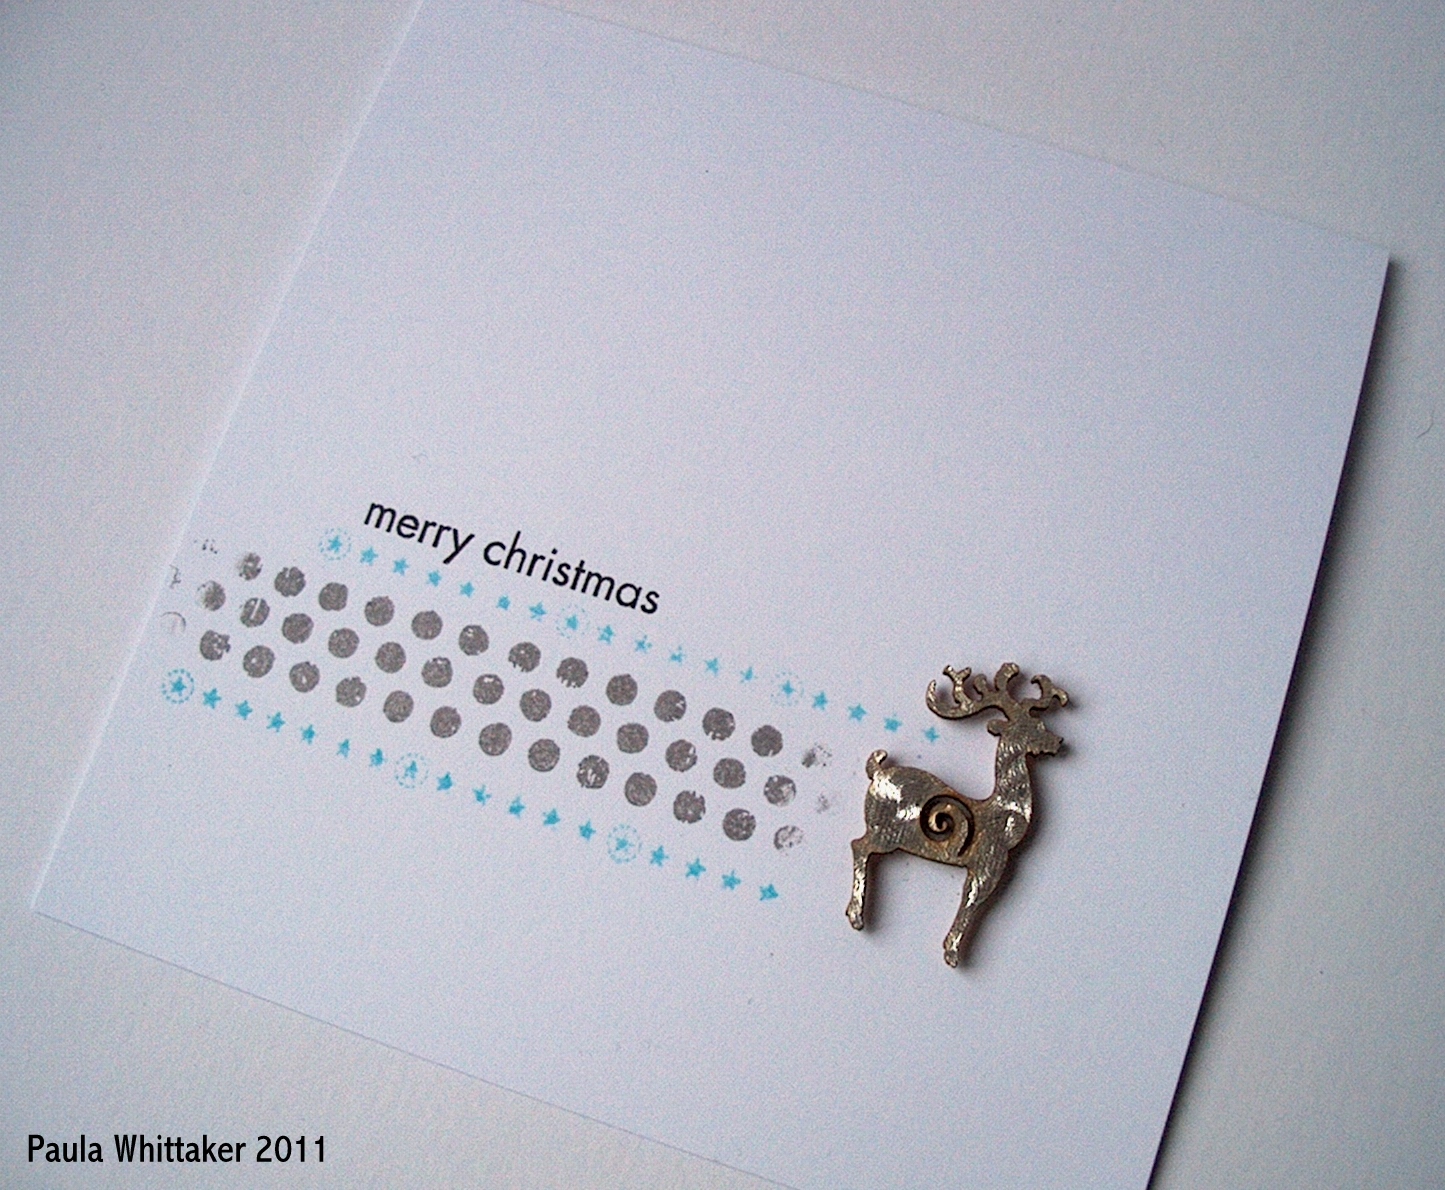
This is a very quick and simple xmas card idea, using the dotty stamp from the 'Everyday Fun' stamp set and the star strip from the 'Happy Days' stamp set.


Card Four
I've used stamps from the 'Everyday Fun' and 'Happy Days' stamp sets and the button and chipboard shape is from the 'Everyday Fun' collection too.


Monday, 12 December 2011

DT Project By Paula Featuring My Minds Eye

We had a fab kit of My Minds Eye papers, stamps and embellishments.....the collection is called "Kraft Funday/ Everyday Fun" -Ive made 8 cards that I'll be showing over the next few days.

I just want to take this opportunity to say a big 'Thank You' to Val and Don for asking me to be a part of their Design Team - Ive had a terrific time but due to personal circumstances I've had to step down....also a big thank you to everyone who has taken the time to comment on my projects, it's been very much appreciated.

So, on with the cards....

Card One
I've used the MME paper called 'Ziggity', the dots are a stamp from the 'Everyday Fun' stamp set, the wording is a stamp from the 'Happy Days' stamp set and finally, the brad is from the decorative brad set but Ive coloured the zigzag edged circle it came with, with white paint...also Ive edged the paper with white paint too.


Card Two
Ive used the dotty stamp again but with Versafine 'Smokey Grey' ink, as well as using the words 'Celebrate' and 'Today' which also come from the 'Everyday Fun' stamp set, plus Ive used 3 brads from the 'Decorative Brad' set.

Friday, 9 December 2011

DT Project By Lesley Featuring My Mind's Eye Kraft Funday products

Good morning Everyone,

Well, this is probably my last post for 2011 on the Snazzy DT blog and this month the selection we were sent to work with were fabulous products from My Minds Eye Kraft Funday Collection . This includes a wonderful selection of double sided Kraft papers with matching brads, buttons and clear stamps and today I have two cards to show you.

The first, as you can see is an easel card. I cut the main image from one of the 12" x 12" papers using a Nestability die and enhanced the figures by colouring a little with Inktense Pencils and then matted first onto a red corrugated card and then an ivory card both cut with scalloped Nestabilities.


The scallop edged strips were punched from another of the Kraft papers and edged with black Versafine ink. The banner, words and stars are images from the clear stamps and I used Versafine to stamp with before cutting them out.


I attached the main image and the strips with double sided tape and the stars with 3d foam pads.


For this second card I cut a 6" x 6" square from one of the plain Kraft papers to cover the front of a card base. I cut an aperture from the front of the card of approx 3.25" square using a Nestability die and then stamped with the stars and spots using Archival Coffee before dry brushing with a little Viva Inca Gold metallic paint. I tied some paper cord through three of the chipboard 'banner' buttons and attached them to the card at the top left corner and three buttons to the bottom right.
I cut a 9" x 3" strip from another of the paper designs and made a 3" square concertina. Using the Coffee Archival I stamped some of the clear stamps and some quotes from a Tim Holtz set. I covered the inside back of my card with blue pearlescent card and adhered the concertina to this so that it was centred in the aperture. I mounted the 'star' brad onto a scalloped circle die cut from the blue pearlescent card and placed this and the two die cut flourishes onto the front of the fold out concertina.


I'd like to take this opportunity to wish all our visitors a very happy and peaceful Christmas and all the very best for the New Year. See you all in 2012!

Hugs
Lesley Xx

Thursday, 8 December 2011

DT Project 2 Featuring My Minds Eye ....


Hello everyone, I'm back with my 2nd DT project featuring these wonderful goodies from My Minds Eye.

I started out by making a simple Birthday Card. Cover white cardstock with a sheet of Coredinations in black, then simply cut and layer co-ordinating papers of your choice. I used "Admit One" and "Picnic" to create the rosettes. The "Happy Birthday" quote is from Funstamps UK. The embellishments are from the Kraft Fun - "Everyday Fun" Decorative Brads set & "Everyday Fun" Button pack. The kisses stamp is from the "Everyday Fun" Stamps set.


I then covered the front of a size #5 Manilla Tag with more of the "Admit One" paper, distressing the edges with Distress Inks (Walnut Stain). Using various Ideaology pieces, Swivel Clasp, Jump Rings, Philosophy Tag, Baubles to create a Handbag Charm as the birthday gift. The locket is from my own stash, which has decorative brads adhered on the inside and the outside (adhered using Glossy Accents) from the "Everyday Fun" set.


The reverse of the size #5 tag has been stamped with Archival Inks (Jet Black, Coffee & Manganese Blue) using stamps from the "Happy Days" set & "Everyday Fun" set.

Well that's all from me today, I do hope you liked the projects. I will be back at the weekend with another project using this kit. TFL x

(Edited to say that my next project will be on the 19th Dec and not this weekend)

Monday, 5 December 2011

Design Team Project Featuring My Minds Eye ....


Good morning everyone Gillian here with the first DT project for December featuring My Minds Eye.

I have to say I have had so much fun with this kit. This months kit features the Kraft Funday Collection. "Everyday Fun Stamps" (KFD139), "Happy Day Stamps" (KFD143), "Everyday Fun Decorative Brads" (KFD117) & 12 x12 Kraft Funday Papers which are all available from Snazzys.

I started out by covering a small wooden shadow box with Antique Linen Distress Stains. I then used Distress Inks in Tea Dye to age the outside edges and the inside of the box. I stamped the Dot Stamp in Stazon Timber Brown down one side of the box. I then cut a piece of the 12x12 paper (Ziggity Paper) to fit the inside of the box which was edged with Distress Inks (Walnut Stain). I then cut a frame from one of the 12x12 papers (Front Page News), stamped the lower half with the dot stamp from the Everyday Fun Collection. The picture is from Tim Holtz's Lost & Found Paper Pad. I used 3d Foam Pads to mount the picture to the inside of the frame. I then added the arrow decorative brad.

Using the Everyday Fun decorative Brads set I added the Pin Wheels to either bottom corners, these brads are self adhesive. I attached the banner along the top using 3d Foam Pads to add some more dimension and some of the faux buttons down the left side.

Well that's it for today but I have more projects to show later in the week. TFL x

Wednesday, 30 November 2011

Design Team project 2 by Astrid featuring Kaisercraft

Good morning everyone
Here is a second project for this month featuring the wonderful Kaisercraft products (all available at Snazzys of course).

As my last project was rather masculine and shabby looking, I thought I better make something more feminine and "pretty", so I created this tag card

Kaisercraft products used:
Vintage Timeless Paperpad
Duchess Collection Stamps
Kaisercraft Wooden Flourish (Roman Clock)

In addition I used a Tim Holtz embossing folder and some of my own made roses.

Here is the tag that fits inside the card

The little embellishments at the top are stamped images from the set which I then cut out. I think all the rest is pretty self evident from the images.

Monday, 28 November 2011

Design Team Project by Astrid Featuring Kaisercraft

Good morning everyone. This morning it is my turn to share with you the last of the DT projects for November. I have made a grungy tattered recipe booklet with lots of different layers.


The products I used for this are a Kaisercraft 61/2 by 61/2 paper pad "Vintage Timeless" and the Kaisercraft "Duchess" stamp set, both are of course available from Snazzys If you look down to Lesley's amazing project, she gives a clear description of the versatility of these beautiful papers.

In addition I used gesso, a few bits of gauze, some metal elements, a couple of glimmer mists, walnut ink, texture paste and a stencil and finally some Claudine Hellmuths Multi Medium and two 61/2 by 61/2 bits of board for the covers of my book.

I bound my book with my Zutter

Here is how I did it.

1. I chose two of the papers, trimmed a cm. around each edge and glued them together as they were one sided.

2. I then swiped some Gesso over the front with a bit of card and sprayed some glimmer mist (Cinnamon from Tattered Angels) and walnut ink.

2. The next step was to use some texture paste through a stencil to add some more texture. After it dried I added some more walnut ink and sewed on a few bits of distressed gauze.


3.Then I arranged some metal elements, glued them with Matte Medium and painted some Gesso over them to blend them into the background, I also added some more walnut ink to make them look more aged.


4. I then created a photo mat with various bits cut from the papers and a bit of corrugated card, all them distressed with a pair of scissors and inked to make them look old and tattered. Finally I added an old photo from my stash. This was a freebie from Land of Nod Studios.


5. Now it is time to create a frame for the page. I chose another paper from the pad and glued some strips of other papers around some of the edges to create the illusion of more layers.
6. I then glued my original piece on top with double sided tape and mounted both of them on my cover board


. I chose another piece of paper for the back cover and stamped some images to decorate.
7. I then made some beads from some strips of one of the papers by rolling them around a toothpick. (There are loads of videos on youtube of how to do this) and added some ribbons and the beads to the spine to finish.

Sorry for this endless post, hope you enjoyed it....

Check back next week for some more fabulous projects.