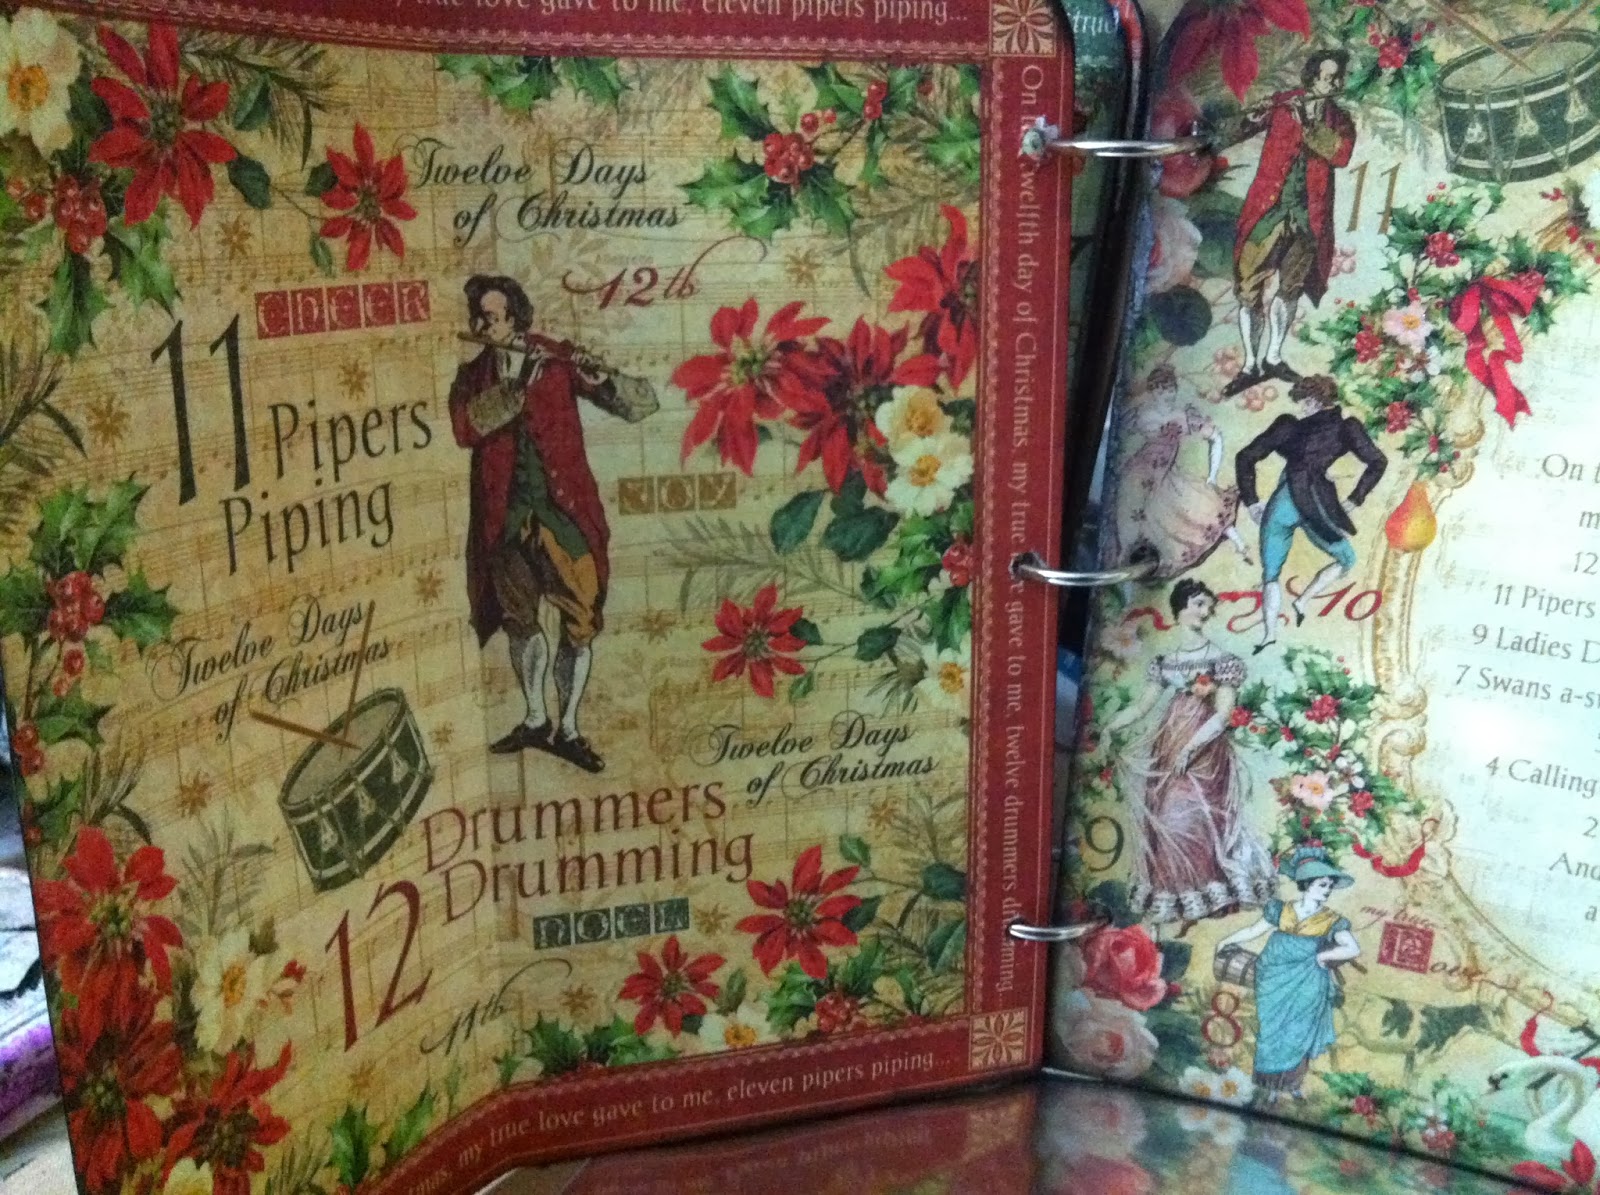
hi again. i am back to show you the second project i completed using my graphic 45 papers and embellies.
first i start off with some claudine helmet multi-medium and i attached all my papers to the chipboard
for the gate portion i covered it with a layer of black distress paint followed by silver distress paint and once dried cover both gate portions with a layer of clear rock candy distress crackle paint
i love how it turned out!
next it was just a matter of assembling the book. i added a bit of shimmer spray to each page to make it pop and more festive.
and this is the whole book put together and displayed open on my table. it really shimmers at night by candle light.
once again, thanks for dropping buy and please do leave a comment and let me know what you think!
i will be back on Friday with my final post showing you what i created with the left overs as well as posting why it is good to leave comments on peoples posts!!! (wink wink)
diana
Wednesday, 18 December 2013
Monday, 16 December 2013
Graphic45 and me -
i have to fully admit that Graphic45 is one of my favourite lines of paper.. not that i use paper because as a rule now a days i don't but i have to say that of ALL the paper lines out there Graphic45 is my favourite by smell alone!!!
so with that said let me get started on the first of three projects that i have completed in the last couple of weeks to share with you.
i am a big believer in using what you have so i started with an empty cheese container, the package of Graphic45 papers, and a pair of scissors (tim holtz scissors but of course!)
added a bit of glue:
a bit of sanding and a bit of paint:
next i mixed a bit of Tim Holtz paint and wendy vecchi embossing paste and using a prima brick mask created the outside of the container...
now it was a little too messy (i know!!) for me so added a tad bit of paint to calm it down.


and ended up creating this:
a little mini book inside the once ready for the recycle bin container!! i had so much fun...i wasn't sure what was next but before too long i was creating again...you can see the sneak peak in the background of this photo!!
have you had a chance this month to check out the other design team members to see what they have created...you will want to perhaps leave a comment on each.. just saying...
i will be back on Wednesday!!
diana
so with that said let me get started on the first of three projects that i have completed in the last couple of weeks to share with you.
i am a big believer in using what you have so i started with an empty cheese container, the package of Graphic45 papers, and a pair of scissors (tim holtz scissors but of course!)
added a bit of glue:
a bit of sanding and a bit of paint:
next i mixed a bit of Tim Holtz paint and wendy vecchi embossing paste and using a prima brick mask created the outside of the container...
now it was a little too messy (i know!!) for me so added a tad bit of paint to calm it down.


and ended up creating this:
a little mini book inside the once ready for the recycle bin container!! i had so much fun...i wasn't sure what was next but before too long i was creating again...you can see the sneak peak in the background of this photo!!
have you had a chance this month to check out the other design team members to see what they have created...you will want to perhaps leave a comment on each.. just saying...
i will be back on Wednesday!!
diana
Friday, 13 December 2013
12 Days of Christmas Noel Word Plaque
Hi, Lucy here with my second make using the gorgeous Graphic 45 '12 Days of Christmas' kit. For this Noel chipboard word plaque I paid another visit to my local pound store, and Yes, I do live there! It was covered in gingham fabric which you could peel off or leave on. I painted the plaque with red acrylic paint first and then alternated between a plain then a fussier choice of paper from the 8 x 8 pad for each letter, roughly cut them before gluing them on and sanded the edges. I then fussy cut pieces of holly and Christmas roses and pears from scraps I had left and added them to the papers on the N and the E and the L. I finished off with strips from the sticker sheet for the front, back, and edges of the plinth.
Monday, 9 December 2013
12 Days of Christmas Clock
Hi, Lucy here, with my first project for Snazzys, using the beautiful vintage Graphic 45 'Twelve Days of Christmas' kit which Val kindly sent us.
The Twelve Days made me think of points on a clock, so I bought a clock from the pound shop to take the mechanism out, and one of their gold charger plates, the sort of thing you have under a dinner plate at Christmas dinner. For the numbers around the edge I used the Pear Tree paper from the 8 x 8 pad and a 1 inch circle die and cut each of the 12 including the icon which accompanies it, e.g. 4 Calling Birds. This was the most fiddly part of the project but I managed to only use one sheet! I wanted the numbers to really stand out so I went over them with an embossing pen and used red embossing powder. I used the next size up circle die to cut a brown Core-dinations layer to go behind the numbers and sanded the edges, and glued the pieces into position on the plate.
I decided I wanted the centre of the clock to be quite subtle so it wouldn't fight too much with the clock hands so I used the Golden Rings paper which is a soft gold pattern. I drew round a tea plate then cut it out and sanded the edges. I embossed the 'Twelve Days of Christmas' text from the stamp set No 1 in red, top centre. I then fussy cut the partridge and the pears from the Turtle Doves paper and adhered these at the bottom centre and added a very light touch of glitter.
I had to make a hole in the plate for the clock mechanism and I was worried about shattering the plate! I actually went into the garage and got the workmate and the soldering iron out! For those who know me, this is very out of character! But actually it was incredibly easy so I would recommend it.
The stamp set I have is No 1, with the song words, but it looks as if No 2 would work brilliantly for this project if you get that set instead as you could stamp the numbers instead of using the circles of the paper with the numbers and icons on. If you had a smaller clock face, you could stamp them on shrink plastic. Either way, I feel this would make a practical present for someone who likes to bring their Christmas decorations out every year.
I'll be back later on this week with another project using this kit.
I decided I wanted the centre of the clock to be quite subtle so it wouldn't fight too much with the clock hands so I used the Golden Rings paper which is a soft gold pattern. I drew round a tea plate then cut it out and sanded the edges. I embossed the 'Twelve Days of Christmas' text from the stamp set No 1 in red, top centre. I then fussy cut the partridge and the pears from the Turtle Doves paper and adhered these at the bottom centre and added a very light touch of glitter.
I had to make a hole in the plate for the clock mechanism and I was worried about shattering the plate! I actually went into the garage and got the workmate and the soldering iron out! For those who know me, this is very out of character! But actually it was incredibly easy so I would recommend it.
The stamp set I have is No 1, with the song words, but it looks as if No 2 would work brilliantly for this project if you get that set instead as you could stamp the numbers instead of using the circles of the paper with the numbers and icons on. If you had a smaller clock face, you could stamp them on shrink plastic. Either way, I feel this would make a practical present for someone who likes to bring their Christmas decorations out every year.
I'll be back later on this week with another project using this kit.
Thursday, 5 December 2013
Graphic 45 DT Project #2 by Claire
Hi Snazzy fans!
I'm back today to share my second design team project with the Graphic 45 Twelve Days of Christmas collection.
Here is a Tando Triple Arched Layered Frame that I altered using the Twelve Days of Christmas papers:
I started by painting the frames using Paperartsy Fresco paint in Tinned Peas. I then gave the top frame a coat of their Crackle Glaze, let that dry then added Fresco French Roast and Irish Cream and let the paint crack.
I cut sections from the Graphic 45 Twelve Days of Christmas 8x8 pad to fit the three frames and added them using multi medium. I stuck the layered frames together and finished off the sides and back of the frame with Treasure Gold Renaissance gilding wax.
I then added Treasure Gold gilding wax in Renaissance and White Fire to the front Tando frame with my finger to give it that really luxurious finish.
I fussy cut the partridge, goose, piper and maid from the same 8x8 paper pad.
To finish I added the fussy cut images to the frame along the front.
Thanks for joining me at Snazzy's this week - make sure you pop back next week to see the what Lucy has been up to with the kit!
Monday, 2 December 2013
Graphic 45 DT Project #1 by Claire
Hello Snazzy fans!
Claire here today to share my very first Snazzy project with you all featuring Graphic 45's Twelve Days of Christmas range.
I chose to alter a couple of baubles for my first project this week:
They started out as grey chipboard shapes:
I covered one bauble with a section of the page for 'Two Turtle Doves' I sanded around the edges after sticking the page to the bauble to create a nice smooth finish. I added one of matching banners that come in this collection to the bauble and covered it with glossy accents.
The second bauble was covered with paper from the 'Four Calling Birds' pages - again the edges were sanded for a nice finish. I die cut the '4' from elsewhere on the pages and also the text 'four calling birds' The oval with the number 4 on was treated with the glossy accents for a nice shiny surface also.
I did paint the reverse of the baubles also just in case they spin around the wrong way when I actually get my tree put up!
I hope you enjoyed my first Snazzy project, I'll be back again later in the week with another project to share with you all.
Thanks for stopping by today,
Claire x
Thursday, 28 November 2013
DT Project #2 by Minxy, Featuring;
Hay Snazzy Gang
{oops I totally forgot, HAPPY THANKSGIVING to all our American friends xo}
Here I am back as promised with my second offering which is a little different.
A friend {Sandy} gave me the idea to make some napkin holders and from that sprung the whole table arrangement idea.
For the mat I took a sheet of kraft card and stamped on it using the G45 Christmas 1 set of stamps in 'red geranium' & 'fern green' archival ink.
I then placed one of the G45 'my true love' papers in the centre, followed by a Snazzy's doily from their multi pack that I distressed with distress ink. To complete I die-cut a heart from the G45 'golden rings' paper to go in the centre of the doily. To make the mat heatproof I attached a sheet of heat resistant acetate with brads.
For the napkin ring I die-cut one of the Tim Holtz snowflake rosettes from the G45 '12 days of christmas' paper, followed by a punch out in the G45 'swans a swimming' paper, and topped with images I fussy cut from the G45 '12 day of christmas' paper. I also rounded off the edges of the rosette with scissors.
Finally I used one of the cool little G45 christmas tags and pockets, as a name place setting.
I hope you like today's offering, Be sure to stop by next week as we have the first post from 1 of our new DT members.
Till next time, Stay Inky
Subscribe to:
Posts (Atom)