Hello Everyone,
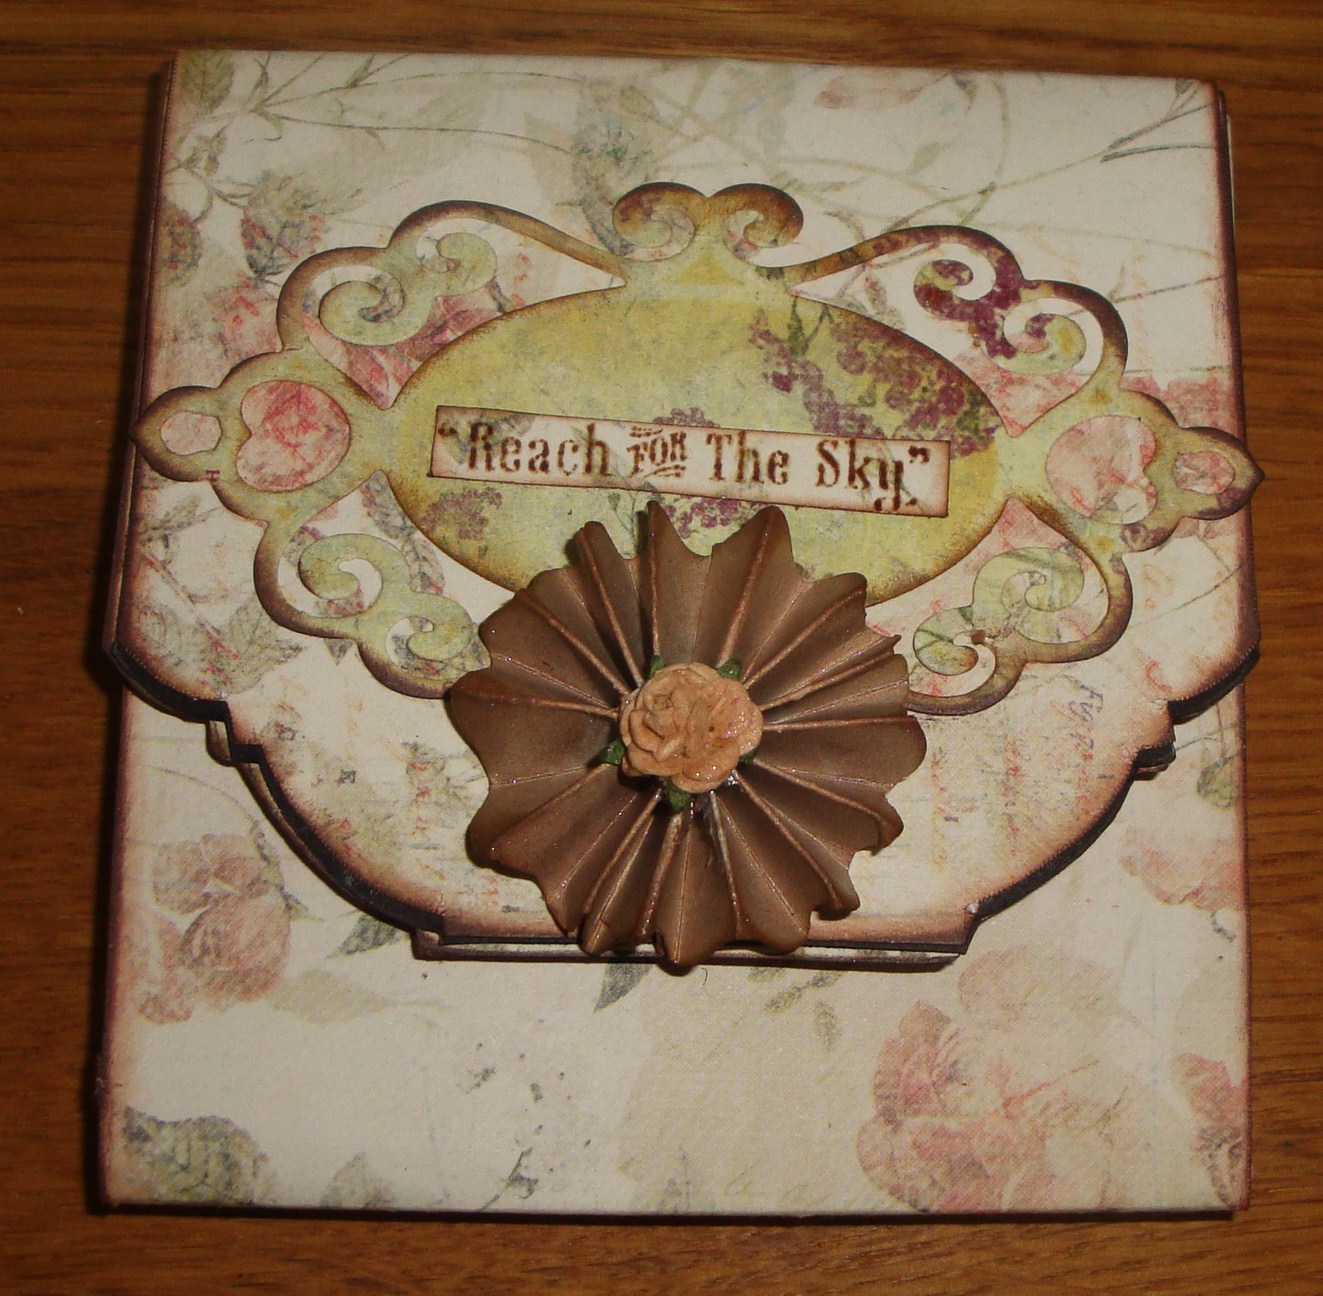
This is my project for this month using some really gorgeous Darkroom Door stamps, Tando products and Tissue Tape. I decided to decorate a little book box I've had in my stash for a while. It was great fun to do so here come the pics.
I covered the box inside and out with a liberal layer of Aged Mahogany Distress Ink and then dry brushed some gold paint on the spine and over the edges of the pretend pages. Now for some reason my Aged Mahogany reinker has gone really thick and yucky (I bought it ages ago and I'm wondering if it had been badly stored or something) but for my purposes it worked really well because it made the box look as though it had an old leather cover which you might be able to see better if you click on the photo to enlarge it. I then created the front and back covers. I blended several Distress Ink colours over a lovely Tando music mask (one of my favourite things to do) followed by some overstamping and blended inks onto some Tissue Tape before adding to the piece. I stamped, inked and cut out the lovely frame/bookplate and added it using 3D foam pads. I attached the little piano charm and made my flower from a piece of fab lace and a bit from a necklace I had taken to pieces.
I created the two pieces for the inside using similar methods. The quotes come from another Darkroom Door set.
The back cover was created in the same way too.
I hope you like my little box as much as I like the products I used. I will be back later in the week with two Stampbord ATCs I made to put in the box.
Hugs
Lesley Xx
Monday, 12 September 2011
Monday, 5 September 2011
DT Project Featuring Darkroom Door & Tando ....
Don't forget to check out the other DT members projects throughout the month for further inspiration. I would also like to say hello and welcome to our new followers, thanks for stopping by ... TTFN! x
Labels:
Archival Ink,
Claudine Hellmuth,
Darkroom Door,
Distress Inks and Stains,
Snazzy DT,
Tando,
Tim Holtz
Wednesday, 31 August 2011
Product review for Black Shrink plastic
Black Shrink Plastic is a somewhat unusual product but very versatile and I love it for making charms and embellishments that go very well together with many of the popular Tim Holtz and 7 Gypsies ranges, they also fit perfectly with the new Bo Bunny Etc range (available from Snazzys soon!). It comes in packs of 6 sheets.
Those of you who have used shrink plastic before will know it is important to sand it down on one side. Well Snazzys’ shrink plastic sheets are pre-sanded on one side already, which makes it very easy to work with.
For those of you who are new to using shrink plastic, it can be a bit scary at first as the stuff crinkles and curls up on itself when heated and you may well think that it will just turn into a big mess. The great thing is, if you take care not to over heat it, it all sorts itself out like magic.There are clear instructions of how to work with it included in the packs. Hope you will give this a try. The sheets are available for the very reasonable price of £4.35 from Snazzys
Here are some projects that show the kind of thing you can do. All you will need is the shrink plastic, some stamps, metallic or light coloured inks and pens.
Here are some more examples of charms used to decorate a project and a set of buttons that could be a gift for a friend who's into sewing.
Tip: When using your heat gun to shrink the plastic, put your item in an empty shoebox or similar, to stop it flying away, also don’t hold the heat gun too close, to stop it from over heating. This one is very important, always cut any holes you may need for your charms or whatever before you shrink it. This bit of info is in the instructions, but I thought it would be good to mention it as it is easy to overlook.
Monday, 29 August 2011
Product Review .... Distress Stains
Good morning everyone ... This week two of the DT will be giving a product review on items they have been sent in their DT kits. I chose to kick off the product review with Distress Stains. How do Distress Stains work ... Well the Distress Stains are a fluid water based dye ideal for paper or other porous surfaces. The Distress Stains have a unique release system making them the perfect dye medium for larger surface areas. They come with a brushed nylon dabber top, when you first open them just press the dabber top down, this will release the spring valve ready for use. Distress Stains are now available in 37 colours!
You can achieve different effects with the stains .... layering the colour gives a more saturated look like the tag on the left. Spritzing with water gives you a more mottled effect like the tag in the centre and also lightens your colour. The newest releases of Distress Stains have a new colour addition called Picket Fence .... this in my opinion is something totally unique ... Picket Fence is a fluid based stain, but the difference with this stain is that it is opaque, you also need to shake the bottle well before each use as there is a mixing ball within. Picket Fence can be used as a basecoat for other stain colours or can be used ontop to change the look of existing colours as you can see on the tag on the right. Picket Fence gives your projects an antique white washed effect.
This tag has been inked with Distress Ink and Distress Stain ..... as you can see the Distress Ink gives a more softer/blended look to the tag when used inconjuction with the blending tool, the Distress Stain is a fluid version of the Distress Ink, when layered the stains give your project a more saturated look.
For me the Distress Stains are an excellent medium to work with, they are easy to apply and give you ultimate control in how much fluid you wish to apply to your projects. The possibilities are endless. Ranger's Creative Director Tim Holtz has created a video that explains pretty much everything you need to know about Distress Stains click HERE to see the master at work. Thanks for stopping by, watch out for Astrid's product review later in the week.
Monday, 22 August 2011
DT Project #4 ....Note-card holder
Hello everyone, this is Astrid here and I am very excited to bring you my first project as DT member for Snazzys.
I am going to show you how you can create a little note-card holder that would make a wonderful gift for any friend that is not a card maker, although even someone who is a card maker might enjoy receiving something like this. The holder will hold up to four 9cm x 9cm (3.75 x 3.75 “) double note-cards. Obviously you can make both the holder and the note-cards in whatever style you wish, I am going to show you two, one more masculine and one more feminine. All materials I used are available from Snazzys
Here are two examples of both the holder and some note-cards to go inside.
First the little folders:
And now for some note card examples:
This is what you will need:
For the note-card holder:
1 piece of strong A4 card any colour
2 sheets of 12 x 12 scrapbook paper (I used 7 Gypsies Lille papers for my masculine cards and holder and Prima Botanicals for my feminine cards and holder)
For the note-cards:
For each card you will need:
One piece of card 18 cm x 9 cm ( 7” x 3.5”) scored and folded in half (for my masculine ones I used black, for my feminine ones, cream)
One piece of strong coloured paper 8.5 cm x 8.5 cm (3.25 “ x 3.25 “) (I used dark red and pale green)
One piece of scrapbook paper 8 cm x 8 cm (just over 3” x 3”). I used the Lille and Botanical papers again, - great to use up scraps.
A selection of stamps ( I used Darkroom Door Steampunk DDRS068, Chorus DDRS012 and also some Tim Holtz and 7 Gypsies, all available from Snazzys) I also used some freebies from craft magazines.
In addition you will need
Ruler
Craft knife
Your favourite glue (I used a basic glue stick, some PVA adhesive and a Stix2 permanent glue roller and my ATG)
A selection of embellishments of your choice
Here is the template for the holder:
Method:
1. Print out the template full size onto A4 paper and cut out
2. Glue your chosen paper onto your strong A4 card, let dry
3. Trace the template onto your card and cut out
4. Score and fold along the fold lines, fold all the flaps towards the centre of the holder and open out again
5. If you want to enhance the cover with stamps, now is the time to do so, this is also the time to cover the inside of the top flap with more paper if you want
6. Fold the two sides towards the centre, then fold up the bottom flap and carefully glue it all in place
7. To close your folder you can use a large brad, Velcro dots or whatever closure you can come up with
8. Create you note-cards, put them in the holder and your little gift is finished
Well, I hope you will give this a try, above all have loads of fun, use your creativity and imagination!
I am going to show you how you can create a little note-card holder that would make a wonderful gift for any friend that is not a card maker, although even someone who is a card maker might enjoy receiving something like this. The holder will hold up to four 9cm x 9cm (3.75 x 3.75 “) double note-cards. Obviously you can make both the holder and the note-cards in whatever style you wish, I am going to show you two, one more masculine and one more feminine. All materials I used are available from Snazzys
Here are two examples of both the holder and some note-cards to go inside.
First the little folders:
And now for some note card examples:
This is what you will need:
For the note-card holder:
1 piece of strong A4 card any colour
2 sheets of 12 x 12 scrapbook paper (I used 7 Gypsies Lille papers for my masculine cards and holder and Prima Botanicals for my feminine cards and holder)
For the note-cards:
For each card you will need:
One piece of card 18 cm x 9 cm ( 7” x 3.5”) scored and folded in half (for my masculine ones I used black, for my feminine ones, cream)
One piece of strong coloured paper 8.5 cm x 8.5 cm (3.25 “ x 3.25 “) (I used dark red and pale green)
One piece of scrapbook paper 8 cm x 8 cm (just over 3” x 3”). I used the Lille and Botanical papers again, - great to use up scraps.
A selection of stamps ( I used Darkroom Door Steampunk DDRS068, Chorus DDRS012 and also some Tim Holtz and 7 Gypsies, all available from Snazzys) I also used some freebies from craft magazines.
In addition you will need
Ruler
Craft knife
Your favourite glue (I used a basic glue stick, some PVA adhesive and a Stix2 permanent glue roller and my ATG)
A selection of embellishments of your choice
Here is the template for the holder:
Method:
1. Print out the template full size onto A4 paper and cut out
2. Glue your chosen paper onto your strong A4 card, let dry
3. Trace the template onto your card and cut out
4. Score and fold along the fold lines, fold all the flaps towards the centre of the holder and open out again
5. If you want to enhance the cover with stamps, now is the time to do so, this is also the time to cover the inside of the top flap with more paper if you want
6. Fold the two sides towards the centre, then fold up the bottom flap and carefully glue it all in place
7. To close your folder you can use a large brad, Velcro dots or whatever closure you can come up with
8. Create you note-cards, put them in the holder and your little gift is finished
Well, I hope you will give this a try, above all have loads of fun, use your creativity and imagination!
Friday, 19 August 2011
DT Project #3 (Part 3)
Can you tell I really love these new 7Gypsies 'Lille' papers,stamp and tags - Well, here's my last offering using these gorgeous items.
For this card, the base paper is the reverse of the 'Beautiful' sheet - which Ive randomly rubbed over with some blue Distress Ink.
Ive stamped the words 'Beautiful' and 'Life is Good' (only used the 'Life' part) on a blue coloured strip of paper, again from the 'Beautiful' sheet
The bird image is from the 'Beautiful' paper, which Ive cut out and layered with another section from the 'Beautiful' paper (music score).
The printed numbers are from the 7Gypsies 'Lille' tags and so is the red tag hole on the top of the bird image,Ive coloured the ribbon with red distress stain.
Finally, Ive spritzed a mix of Brushed Corduroy re-inker and water.
The one thing I would say is, don't be scared to cut these papers up - yes, they are wonderful as they are but you can create something a bit more unique if you dare to take your scissors to them.....go on,I dare you!
Wednesday, 17 August 2011
DT Project #3 (Part 2)
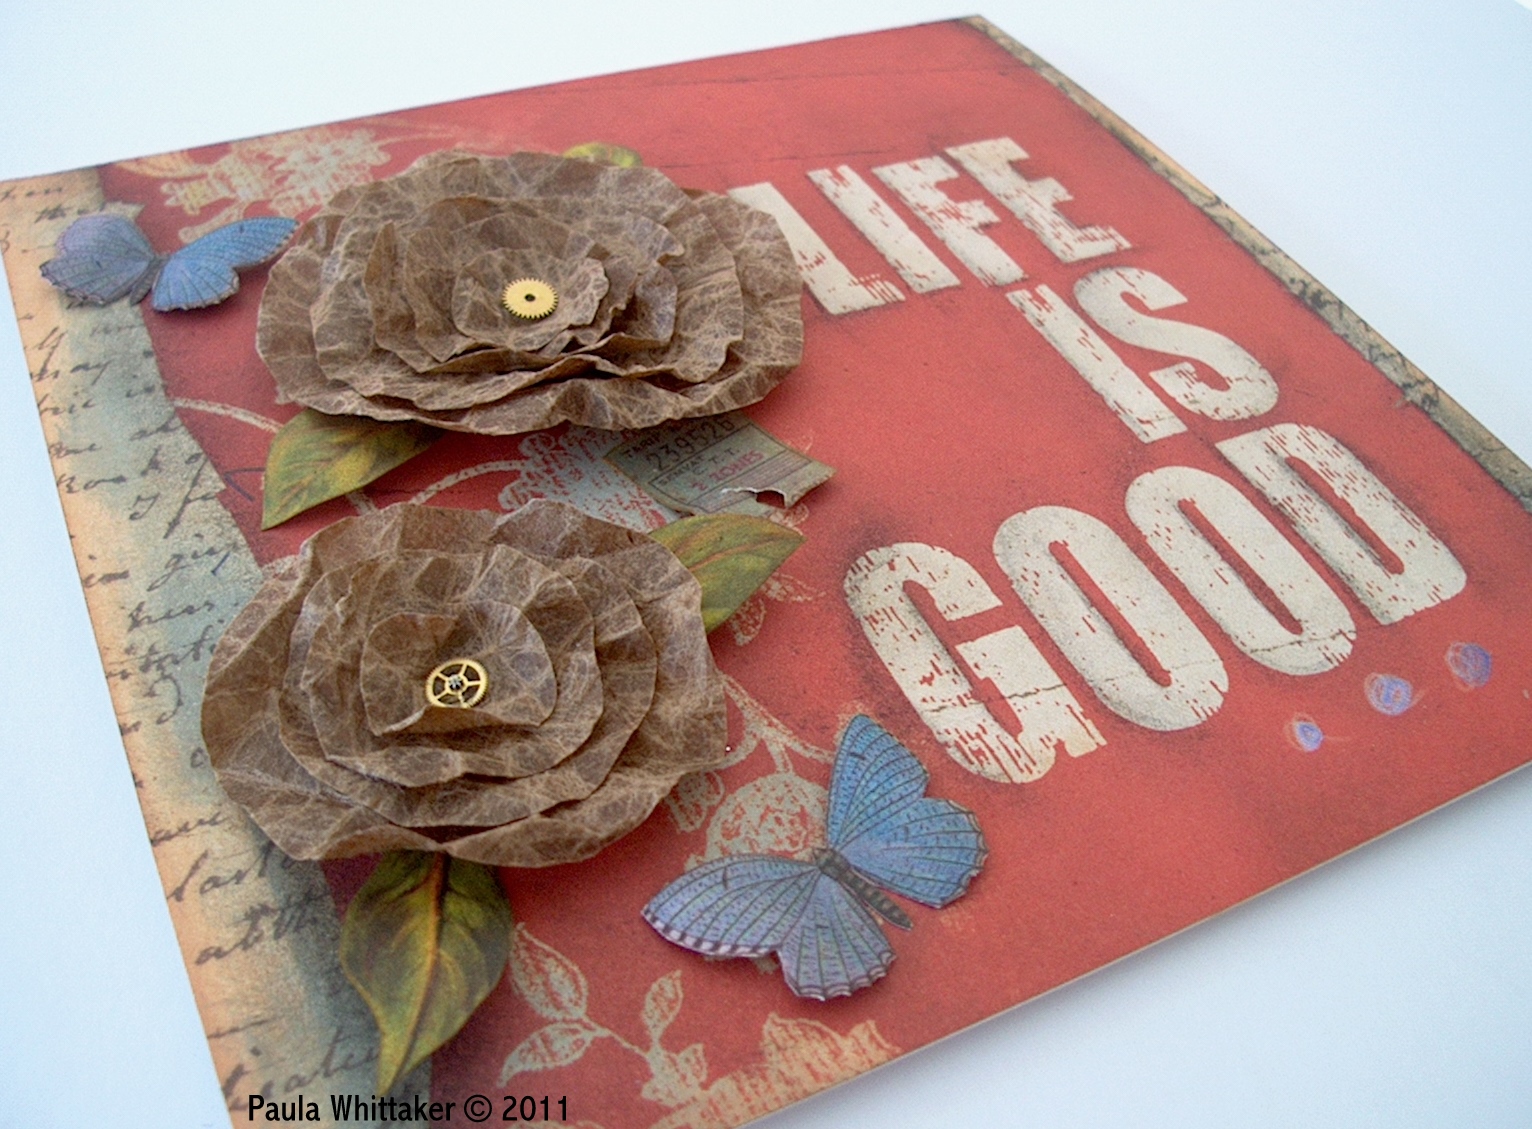
I happen to have the same idea as Lesley, as Ive also covered my card with the wording from the 7Gypsies 'Lille' collection paper ,my choice was the aptly titled 'Life is Good' - Ive rubbed blue distress ink along the edges of the red printed panel to give it a little bit of depth, Ive also rubbed charcoal around the wording, again, to give it a bit more depth and dimension.
The flowers are made using Tim Holtz Glassine Kraft paper - Ive just freehand cut out 4 decreasing in size circles, then scrunched them up - which gives them a great worn effect. You then simply layer them and Ive added small watch cogs to the flower centres.
The leaves and Butterflies have been cut from a paper which is from the 7Gypsies 'Conservatory Collection'.
Subscribe to:
Posts (Atom)