Friday, 7 February 2014

DT Project No 2 by Lucy Edmondson - Featuring Jilly Bean Soup - Heart Healthy Box


I made this heart shaped chocolate box for Valentine's Day featuring the Jilly Bean Heart Healthy Red Bean Soup Collection. I painted a papier mache box with Fresco Finish paints in a mixture of London Bus and Brown Shed and covered the top with the Love paper. I edged it with a red pleated ribbon from my stash and some of the paper cut with a scalloped punch.


I cut the flowers using the Tim Holtz Tattered Florals die and a piece of hessian to go with the natural look of the paper range. I covered the hessian with watered down PVA first and let it dry so that it didn't fray. I made up the flowers and then edged them with some of the Wow White Embossing Enamel to define the edges and popped a red heart from my stash in the middle and added green fabric leaves. I added a white doily, and a couple of the white heart pins from the kit we were sent which you can see peeking out at the back.

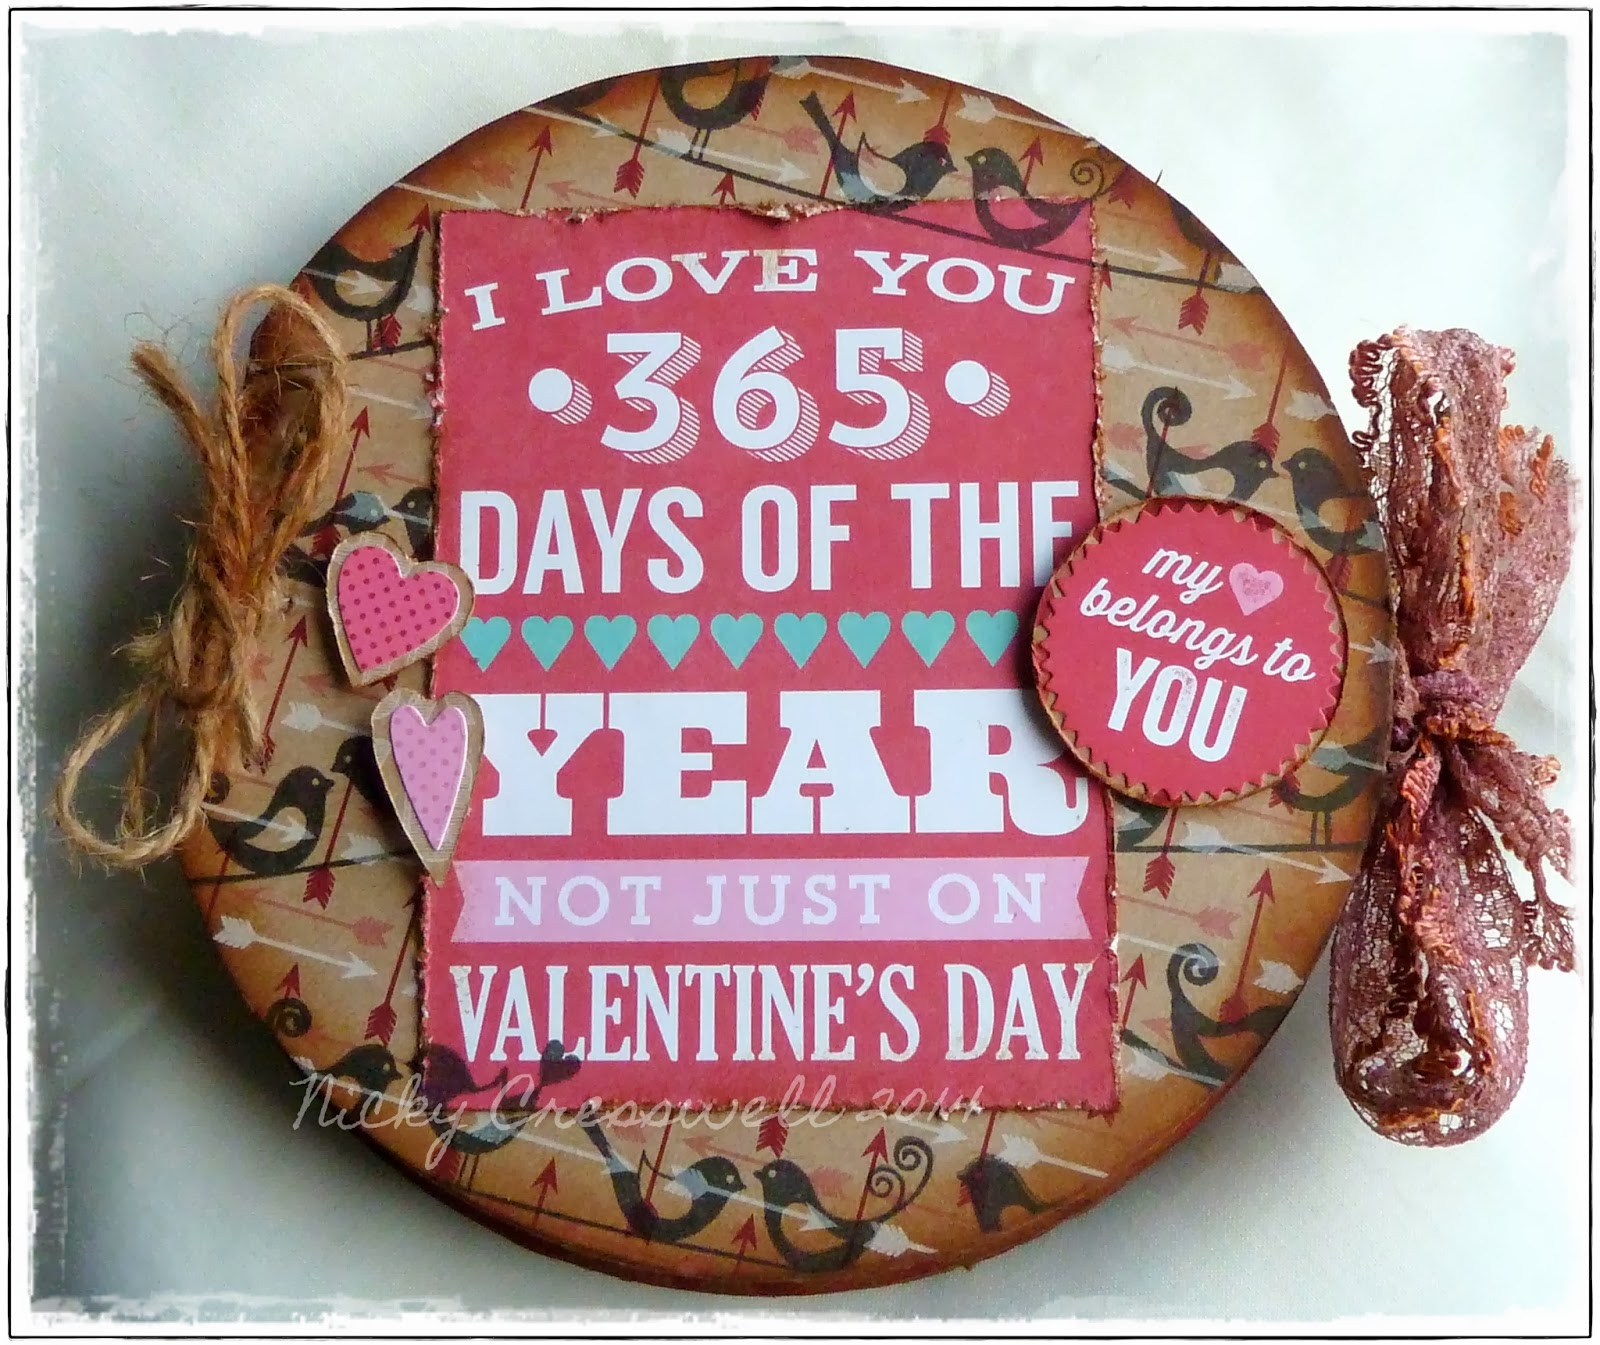
The shrink plastic plaque which reads, 'I love you 365 days of the year' is made in the same way as the one in Monday's post here, and is made with the co-ordinating stamps set and the Versafine Satin Red ink pad.

Monday, 3 February 2014

DT Project No 1 Lucy Edmondson - Tweet Tweet I Love You!


With my Jilly Bean Soup Heart Healthy Red Bean Soup Collection I decided to start off by making an easel card. As soon as I saw the words on the stamp set, 'I love you 365 Days of the Year' I thought of my husband who has a birthday this week, so it was perfect for a romantic card for him. Why not use it for your Valentine cards this year?

As the card stock has a Kraft card background, I used a 6 ins x 6 ins square Kraft card blank and folded the top part in half to form the easel. I cut a piece of the bird paper to just under 6 x 6 to allow for a small border and the same with the chevron design. I cut the bird piece in half and distressed it with my scissors and edged this and the chevron piece with the Wow White Embossing Powder. I embossed the word Love onto a piece of the XOXO paper and die cut it. I adhered the two bird panels onto the front of the card so that it folded in half and stuck the die cut piece so that it was only attached to the bottom half so that it popped up as shown.


I adhered the chevron piece inside the card and die cut another XOXO piece for the message. I painted a piece of shrink plastic with Snowflake Fresco Finish paint and stamped the words 'I Love You 365 Days of the Year' onto it with the Versafine Satin Red ink pad from the kit. You probably know this already, but generally I wouldn't use Versafine on shrink plastic but the chalky finish of Fresco paints allows you to use this ink as it provides a 'key' so that the ink dries easily. I then die cut around the sentiment using the same die set I had use on the outside pop up piece and for the message panel. I shrank it with my heat tool and added a strip of pleated ribbon to act as the anchor for my easel.

And do you know what my husband said when he opened the card and saw my romantic sentiment? 'What about leap years!' I give up!

Friday, 31 January 2014

DT Project #3 by Claire - featuring Jilly Bean Soup

Hello Everyone

Claire here again today to share my final project with you all for this week featuring the JillyBean Soup: Heart Healthy Red Bean Soup Collection.

So here is another Valentine's Day card I created:


 I started by cutting some of the 'XOXO' paper and some of the 'Hearts' paper to size for my 5x7 card blank.  I pierced around the edges of both pieces and inked around the edges with Vintage Photo distress ink.  I then punched the doily border along the bottom edge of the 'XOXO' paper using a Xcut border punch.

 I then die cut the hearts from the 'hearts' paper, attached a tiny ribbon hook to each one and threaded them onto the string of mini pearls.  I added them to the card using foam pads and glossy accents to keep the pearl string in place.  I then added the cream ribbon around the card, tied in a bow and added two heart hat pins which came with the kit this month.


Lucy will be back on Monday to share her makes with you all and don't forget that you can win the stamps, ink and embossing powder we've all been playing with - all you need to do is leave a comment on the blog and one lucky person will be selected at random!

Thanks for joining me this week!

Claire xx 

Wednesday, 29 January 2014

DT Project #2 by Claire - featuring JillyBean Soup

Hello Everyone

Claire here - back again today to share a Valentine's Day card I created using the JillyBean Soup Heart Healthy Red Bean Soup collection:

 I created the kraft tag by stamping the sentiment using Perfect Medium and embossing with the Wow Bright White embossing powder from the kit.  I then stamped the line of birds and the little hearts from the same stamp set using Versafine Satin Red ink - also from the kit.  I inked around the edges of the tag using Vintage Photo Distress ink.   To complete the tag I added the lace to the top and layered with a golden button (which was previously cream - I coloured it with Treasure Gold wax) and tied with some twine.


I then cut a piece of red card to fit a DL kraft card blank.  I cut a piece of the arrow designer paper to size, distressed the edges with the Tim Holtz distressing tool then inked around the paper again using Vintage Photo Distress Ink.
 To finish off I added the tag to the card using foam tape.

I have one more project to share with you using this Jilly Bean Soup collection - see you again soon!

Claire xx

Monday, 27 January 2014

DT Project #1 by Claire - featuring JillyBean Soup

Hi Everyone!

Claire here this week to share my DT makes using the JillyBean Soup: Heart Healthy Red Bean Soup Collection.

For my first project I chose to alter the papier mache hanging heart that came with the kit - I wanted a very vintage, muted kind of look:


I chose to alter my heart using Paperartsy Fresco Finish Acrylic paints - firstly I gave it a good base coat of Irish Cream Fresco.  Next I wanted to add some texture so I used a stencil by SplodgeAway and spread Grunge Paste through sections of it.  I also spread the Grunge Paste around the sides of the heart and texturised it using my palette knife.


Once the Grunge Paste was dry I went over the whole heart again with Irish Cream Fresco, I then started blending in Mocha Mousse, Toffee, Cinnamon and French Roast - adding some of the paint and then blending it back using a damp baby wipe.

Next I stamped the sentiment from the stamp set using Potting Soil Archival ink onto tissue paper and dried with my heat tool.  I added the stamped tissue paper to the heart using Claudine Hellmuth's matte multi medium.  I blended the edges of the tissue into the heart by adding a little bit more paint.

For the back of the heart I stamped onto tissue paper again - this time I stamped the heart balloon, masked and then stamped the word 'love' again using the Potting Soil Archival ink. 

To finish off my heart I swirled Treasure Gold gilding wax in Renaissance over the Grunge Paste on the front of the heart and smudged it around the sides with my finger.  

So there it is - my first project this week using this lovely kit!

I'll be back again later in the week with some more traditionally Valentine's Day coloured projects!

See you soon,
Claire xx


Thursday, 23 January 2014

DT Project #2 by Minxy, Featuring:

JillyBean Soup: Heart Healthy Red Bean Soup Collection

Hay Snazzy Gang
So i'm guessing you're all back today to find out "what's in the tin"


It is of course a little mini book


I started by cutting 4 circles of mountboard and covering each piece back and front with the various Jellybean Soup PapersI dyed some lace with distress stain for the closure, and stuck this 2 the front and back page before the papers. {i made a shallow channel in the mountboard so the lace would not be raised under the paper.}


I then cut out 6 of the elements from the bite size bits sheet, and added 1 to each page.


I used all the clear stamps from the kit to accent each page, along with some of the stickers and some shapes cut from the backing papers.


I used the largest of the stamps to finish the last page.
I punched 3 holes into each page and bound with twine.

So... Thats me done for another rotation, I hope you have enjoyed my little book in a tin project, Don't forget there is still plenty of inspiration to come from my fellow teamies, starting with Claire on Monday.
I'll see you again in Feb
Till next time, Stay Inky

Monday, 20 January 2014

DT Project #1 by Minxy, featuring:

JillyBean Soup: Heart Healthy Red Bean Soup Collection

Hay Snazzy Gang.
I have 2 projects to share this week for you, The first of which was rescued from my local charity shop.
I came across this cool round tin and just knew I wanted to give it a makeover.


To start I cut 2 circles, 1 for the top and one the bottom from the red bell pepper sheet, Luckily the tin was just under the 6x6 size.
Next I diecut a couple of paper roses from the back of the bite size bits sheet, which was normal paper as opposed to the kraft card the rest of the papers were made from and therefore harder to mold into a rose shape. I inked round the edges with vintage photo distress ink, and added a couple of the heart pins from the kit and a couple of little love notes which I stamped using the clear stamp set {also from the kit} onto plain kraft card using the satin red versafine ink.


The bite size bits sheet is made up of 12  3x4 segments, I used one of these segments to stamp and cut out the word love as the focus to my box lid.


I stamped a few of the balloons from the clear stamp set in the red versafine ink onto the red sherry sheet, I found it gave a sort of resist effect which I liked. I cut them out and the used the tail stamp to finish off the balloons. I also cut a couple of the little birds from the scraps of the base paper to 3D a couple of them up.


And voila.. 1 complete made over tin. Simples but effective.
I will be back on thursday with my 2nd offering, A little hint.. it fits inside the tin!
Till then, Stay Inky